Hiking is one of life’s great pleasures, but knee pain can quickly turn your mountain adventure into an uncomfortable experience. Whether you’re dealing with a dull ache or sharp pain after hitting the trails, you’re not alone. The good news is that with the right approach, you can prevent and treat knee pain after hiking without giving up the outdoor activities you love.

In this comprehensive guide, we’ll explore why knee pain occurs after hiking and provide you with seven effective solutions to keep you on the trails comfortably. From prevention strategies to immediate relief methods and long-term solutions, you’ll discover expert-backed techniques that work for hikers of all experience levels.

Why Knee Pain Occurs After Hiking

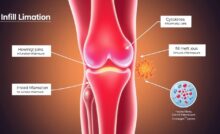
Before diving into solutions, it’s important to understand why your knees hurt after a hike. This knowledge will help you target the right solutions for your specific situation.

Downhill hiking puts up to 8 times your body weight of pressure on your knee joints

Common Causes of Knee Pain When Hiking

  • Downhill Stress: Walking downhill creates significant pressure on your knees as they work to control your descent and prevent you from falling forward.
  • Muscle Imbalances: Weak quadriceps, hamstrings, or glutes can lead to improper knee alignment and increased stress on the joint.
  • Improper Footwear: Hiking boots without proper support can alter your gait and increase knee strain.
  • Overuse: Hiking longer distances than your body is conditioned for can lead to inflammation and pain.
  • Terrain Challenges: Uneven trails, rocks, and roots force your knees to work harder to maintain stability.
  • Pre-existing Conditions: Conditions like patellofemoral pain syndrome (runner’s knee) or arthritis can be aggravated by hiking.

The most common type of knee pain after hiking is patellofemoral pain syndrome, which causes discomfort in the front of the knee or behind the kneecap. This is often referred to as “hiker’s knee.”

Solution #1: Prevention Strategies Before You Hike

The best way to deal with knee pain is to prevent it from occurring in the first place. These preventative measures can significantly reduce your risk of developing knee pain during and after your hike.

Choose the Right Footwear

Your hiking boots or shoes are your foundation on the trail. Proper footwear provides the support and stability your feet and knees need to handle varying terrain.

  • Adequate Support: Look for boots with good ankle support for stability on uneven terrain.
  • Cushioning: Sufficient cushioning helps absorb impact, especially on downhill sections.
  • Proper Fit: Shoes that are too tight or too loose can alter your gait and increase knee strain.
  • Consider Insoles: Custom or over-the-counter orthotic insoles can provide additional arch support and improve alignment.

Start Slow and Build Gradually

One of the most common mistakes hikers make is taking on too much too soon. Your body needs time to adapt to the demands of hiking.

  • Begin with shorter, flatter hikes and gradually increase distance and elevation.
  • Allow adequate recovery time between hikes, especially when you’re just starting out.
  • Focus on one challenging factor at a time: distance, elevation change, or terrain difficulty.

Pre-Hike Checklist

Use this checklist before every hike to minimize your risk of knee pain:

  • Proper footwear with good support
  • Trekking poles for stability
  • Pre-hike warm-up exercises
  • Appropriate hike selection for your fitness level
  • Adequate water and nutrition
  • Knowledge of proper downhill hiking technique

Solution #2: Use Trekking Poles

Trekking poles are one of the most effective tools for preventing knee pain while hiking. They help distribute the impact forces that would otherwise be absorbed entirely by your knees, especially on descents.

Benefits of Trekking Poles for Knee Health

  • Reduced Impact: Poles can reduce the force on your knees by up to 25% when walking downhill.
  • Improved Balance: Additional points of contact with the ground enhance stability on uneven terrain.
  • Better Weight Distribution: Poles allow your upper body to share the workload with your legs.
  • Improved Posture: Proper pole use encourages better hiking posture, reducing strain on your knees.

How to Use Trekking Poles Correctly

To get the maximum benefit from trekking poles, proper technique is essential:

  • Adjust pole length shorter for uphill sections and longer for downhill sections.
  • Place poles ahead of you when descending to brake your momentum.
  • Use both poles for balanced support rather than just one.
  • Maintain a 90-degree bend in your elbows when on flat terrain.

Recommended Trekking Poles

Quality trekking poles with shock absorption features can significantly reduce impact on your knees. Look for adjustable poles with comfortable grips and wrist straps.

  • Lightweight aluminum or carbon fiber construction
  • Adjustable length for different terrain
  • Shock-absorbing features
  • Comfortable grip material
  • Durable tips for various surfaces

Solution #3: Master Proper Hiking Technique

How you walk, especially on descents, can significantly impact the stress on your knees. Learning and practicing proper hiking technique is a free and effective way to prevent knee pain.

Downhill Hiking Techniques

Descending is when most hikers experience knee pain. These techniques can help reduce the impact:

  • Take Smaller Steps: Shorter strides reduce the impact on your knees with each step.
  • Zigzag Down Steep Sections: Walking in a switchback pattern reduces the direct downhill force.
  • Keep Knees Slightly Bent: Avoid locking your knees, which transfers all impact directly to the joint.
  • Engage Your Core: A strong, engaged core helps maintain proper posture and reduces strain on your knees.
  • Land Heel-to-Toe: Control your descent by landing with your heel first, then rolling to your toe.
  • Slow Down: Resist the urge to pick up speed on descents, which increases impact forces.

Pro Tip: When descending steep terrain, turn your feet slightly outward (like a duck) to improve stability and reduce direct pressure on your kneecaps.

Solution #4: Immediate Relief Methods

If you’re already experiencing knee pain after hiking, these immediate relief methods can help reduce inflammation and discomfort.

The RICE Protocol

The RICE method is a proven approach for managing acute knee pain:

  • Rest: Take a break from hiking and other activities that stress your knees.
  • Ice: Apply ice to the painful area for 15-20 minutes every 2-3 hours to reduce inflammation.
  • Compression: Use a compression bandage or sleeve to provide support and reduce swelling.
  • Elevation: Keep your leg elevated above heart level when possible to minimize swelling.

KT Tape Application

Kinesiology tape (KT tape) can provide support and pain relief for hikers with knee pain. It works by providing gentle support while allowing full range of motion.

Basic KT tape application for knee support:

  1. Clean and dry the skin around your knee.
  2. Cut two strips of tape, each about 10 inches long.
  3. Bend your knee at a 90-degree angle.
  4. Apply the first strip from below the knee, around the kneecap, to above the knee with light tension.
  5. Apply the second strip perpendicular to the first, across the kneecap.
  6. Rub the tape to activate the adhesive.

Recommended Pain Relief Products

These products can provide immediate relief for knee pain after hiking:

  • Quality kinesiology tape designed for joint support
  • Reusable ice/heat packs specifically shaped for knee application
  • Compression sleeves that provide gentle support
  • Anti-inflammatory topical creams with menthol or arnica

Solution #5: Strengthening Exercises

Building strength in the muscles that support your knees is one of the most effective long-term solutions for preventing hiking-related knee pain. Focus on strengthening your quadriceps, hamstrings, glutes, and calves.

Essential Exercises for Hikers

1. Squats

Squats strengthen your quadriceps, which help stabilize your knees during hiking.

  • Stand with feet shoulder-width apart.
  • Lower your body as if sitting in a chair, keeping knees behind toes.
  • Return to standing position.
  • Perform 2-3 sets of 10-15 repetitions.

2. Step-Ups

This exercise mimics the motion of hiking uphill and strengthens your quads and glutes.

  • Stand in front of a step or sturdy elevated surface.
  • Step up with one foot, bringing the other foot up to join it.
  • Step back down and repeat with the opposite foot.
  • Perform 2-3 sets of 10 repetitions per leg.

3. Glute Bridges

Strong glutes help maintain proper knee alignment during hiking.

  • Lie on your back with knees bent and feet flat on the floor.
  • Lift your hips toward the ceiling, squeezing your glutes.
  • Hold for 2-3 seconds, then lower back down.
  • Perform 2-3 sets of 12-15 repetitions.

4. Calf Raises

Strong calves provide stability and support for your knees on uneven terrain.

  • Stand with feet hip-width apart, holding onto something for balance if needed.
  • Rise up onto your toes, then slowly lower back down.
  • For an added challenge, perform on one leg at a time.
  • Perform 2-3 sets of 15-20 repetitions.

Need a Personalized Exercise Plan?

A physical therapist can create a customized strengthening program based on your specific needs and hiking goals.

Find a Physical Therapist Near You

Solution #6: Essential Stretches for Hikers

Regular stretching improves flexibility and range of motion, which can significantly reduce your risk of knee pain when hiking. Incorporate these stretches into your routine before and after hiking.

Pre-Hike Stretches

Perform these dynamic stretches to warm up your muscles before hitting the trail:

  • Walking Lunges: Take a large step forward, lowering your back knee toward the ground. Push off your front foot to bring your back foot forward into the next lunge.
  • Leg Swings: Hold onto a stable object and swing one leg forward and backward, then side to side. Repeat with the other leg.
  • Ankle Circles: Rotate each ankle in both directions to prepare your ankles for uneven terrain.

Post-Hike Stretches

These static stretches help your muscles recover after a hike:

  • Quad Stretch: Standing on one leg, bring your heel toward your buttocks and hold your foot with your hand. Feel the stretch in the front of your thigh.
  • Hamstring Stretch: Sit with one leg extended and the other bent. Reach toward your extended foot, feeling the stretch in the back of your thigh.
  • Calf Stretch: Place the ball of your foot against a wall or step, keeping your heel on the ground. Lean forward to feel the stretch in your calf.
The IT Band Stretch helps prevent a common cause of lateral knee pain in hikers

IT Band Stretch

The iliotibial (IT) band is a thick band of tissue that runs along the outside of your thigh from your hip to your knee. Tightness in this area is a common cause of knee pain in hikers.

  1. Stand upright and cross your right leg behind your left leg.
  2. Lean to your left side, extending your right arm overhead.
  3. Hold for 20-30 seconds, feeling the stretch along the outside of your right thigh.
  4. Repeat on the opposite side.

Solution #7: Supportive Gear for Knee Protection

The right gear can make a significant difference in preventing anPd managing knee pain while hiking. These supportive products are worth considering if you regularly experience discomfort.

Knee Braces and Sleeves

Knee braces provide external support to the knee joint, which can be particularly helpful when hiking on challenging terrain.

When to Use a Knee Brace

  • When recovering from a minor knee injury
  • For long-distance hikes with significant elevation changes
  • If you have a history of knee pain or instability
  • On particularly challenging terrain

Types of Knee Support

  • Compression Sleeves: Provide mild support and improve circulation
  • Strap-Style Braces: Target specific areas like the patellar tendon
  • Hinged Braces: Offer maximum support for more serious conditions

Recommended Knee Support Products

These knee support options are popular among hikers:

  • Lightweight compression sleeves for mild support
  • Dual-strap patella stabilizers for targeted support
  • Breathable, moisture-wicking materials for comfort during activity
  • Adjustable options to customize the level of compression

Supportive Insoles

Quality insoles can improve foot alignment, which in turn reduces stress on your knees.

Look for insoles with these features:

  • Arch support appropriate for your foot type
  • Deep heel cups for stability
  • Shock-absorbing materials
  • Durable construction for long-lasting support

When to Consult a Doctor

While many cases of hiking-related knee pain can be managed with the solutions above, some situations warrant professional medical attention.

Seek medical attention if you experience:

  • Severe pain that doesn’t improve with rest and home treatment
  • Significant swelling, redness, or warmth around the knee
  • Inability to bear weight on the affected leg
  • A popping or clicking sound at the time of injury
  • Knee instability or feeling that your knee is “giving way”
  • Pain that persists for more than 1-2 weeks despite self-care

A healthcare provider can:

  • Diagnose the specific cause of your knee pain
  • Rule out serious conditions like ligament tears or fractures
  • Provide personalized treatment recommendations
  • Refer you to a specialist if needed
  • Prescribe physical therapy for targeted strengthening

Need Professional Help for Your Knee Pain?

Don’t let knee pain keep you off the trails. A physical therapist can help diagnose the cause of your pain and create a personalized treatment plan.

Find a Hiking-Friendly Physical Therapist

Frequently Asked Questions About Hiking and Knee Pain

Is hiking bad for your knees?

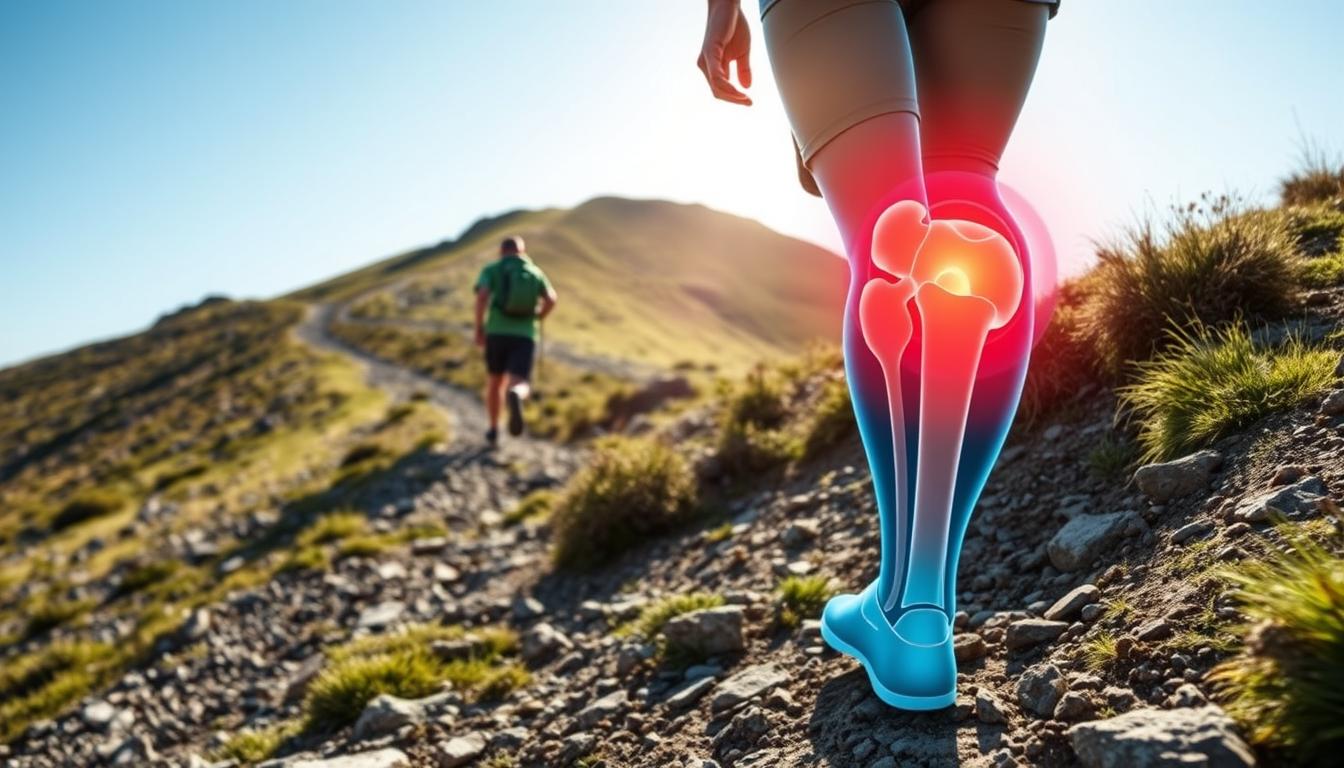
Hiking is not inherently bad for your knees. In fact, the moderate, low-impact exercise hiking provides can strengthen the muscles that support your knees. However, factors like improper technique, inadequate preparation, or pre-existing conditions can lead to knee pain. With proper preparation, technique, and equipment, most people can hike without knee problems.

Why do my knees hurt only when hiking downhill?

Downhill hiking places significantly more stress on your knees than flat or uphill hiking. When descending, your quadriceps work eccentrically (lengthening while contracting) to control your descent and prevent you from falling forward. This creates up to 8 times your body weight in force through your knee joints. Using trekking poles, taking smaller steps, and strengthening your quad muscles can help reduce this pain.

How long should I rest after experiencing knee pain from hiking?

For mild knee pain, 1-3 days of rest is often sufficient. During this time, you can apply ice, use compression, and elevate your leg to reduce inflammation. If pain persists beyond a week or is severe, consult a healthcare provider. Once the acute pain subsides, gentle movement and appropriate exercises can actually help speed recovery by promoting blood flow and strengthening supporting muscles.

Can I hike with arthritis in my knees?

Many people with knee arthritis can continue to enjoy hiking with proper modifications. Start with shorter, flatter hikes and gradually build up. Use trekking poles to reduce impact, wear supportive footwear, and consider a lightweight knee brace for additional support. Consult with your healthcare provider for personalized recommendations based on the severity of your arthritis.

Keep Hiking Without Knee Pain

Knee pain doesn’t have to be the price you pay for enjoying the great outdoors. By implementing the seven solutions outlined in this guide—prevention strategies, proper technique, immediate relief methods, strengthening exercises, stretching routines, supportive gear, and knowing when to seek professional help—you can significantly reduce your risk of knee pain after hiking.

Remember that consistency is key. Incorporate these practices into your regular hiking routine, and you’ll build stronger, more resilient knees that can take you wherever the trail leads. Happy hiking!

Ready to Hit the Trails Pain-Free?

Download our complete guide to preventing and treating knee pain for hikers, including a printable pre-hike checklist and exercise program.

Get Your Free Hiking Knee Pain Prevention Guide

Mokhtar

Recent Posts

Smartwatch Tracking for Knee Pain Triggers: Your Complete Guide to Data-Driven Pain Management

Table of Contents Introduction Understanding Knee Pain Triggers How Smartwatch Technology Monitors Knee Pain Top…

3 days ago

Knee pain after sleeping on side

Discover how to alleviate knee pain after sleeping on side with our expert guide. Learn…

1 week ago

Knee pain when bending but not swelling

Discover the causes and treatments for knee pain when bending but not swelling. We explore…

1 week ago

Knee pain relief for nurses

Knee pain relief for nurses is achievable. We share our expertise on managing knee pain,…

1 week ago

Knee-friendly elliptical workouts

We provide a comprehensive guide on knee-friendly elliptical workouts, helping you achieve your fitness goals…

1 week ago

Acupuncture points for knee bursitis

We outline the 15 acupuncture points for knee bursitis that are most effective. Find out…

1 week ago