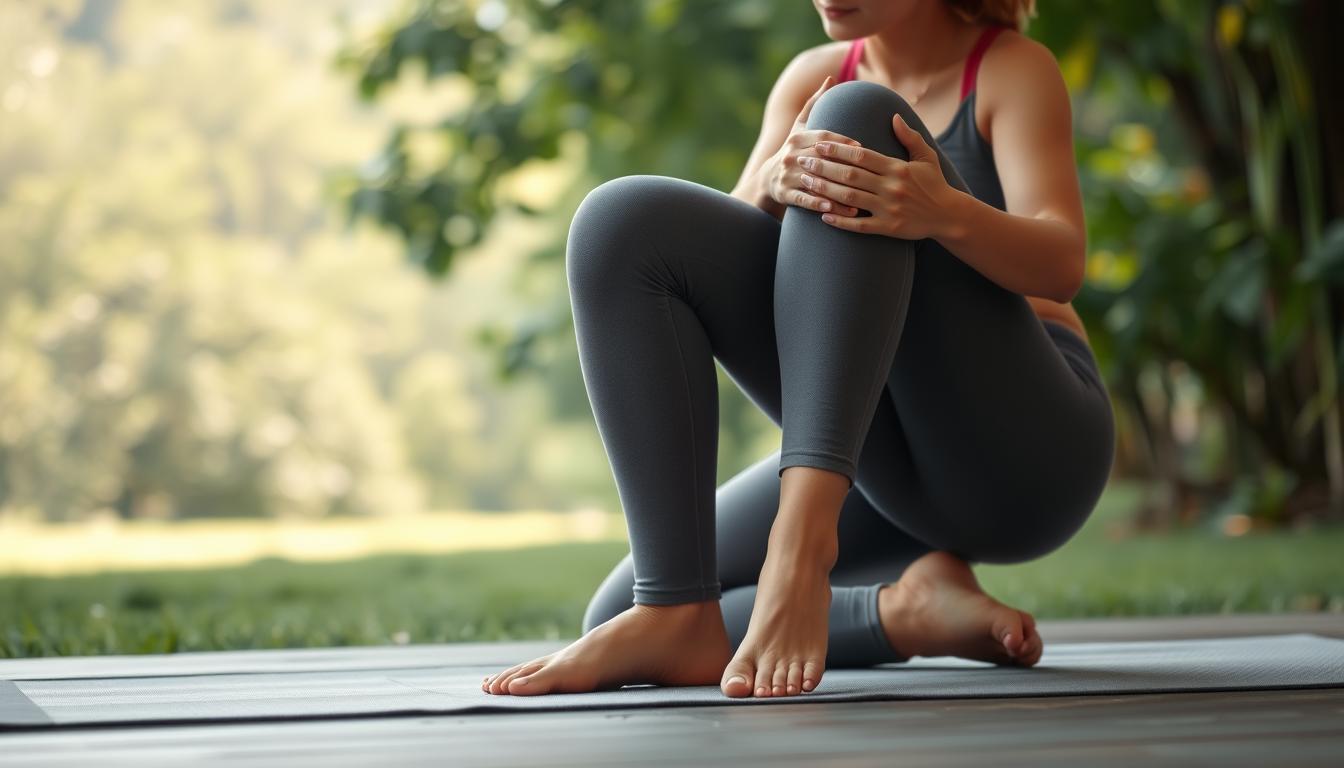
Many of us enjoy the benefits of yoga, but some may experience knee pain afterward. Knee discomfort is a common issue, especially after intense sessions or when certain poses are performed incorrectly.
Understanding the connection between yoga practice and knee health is crucial for maintaining joint integrity. We will explore effective remedies for knee soreness, addressing both immediate relief strategies and long-term prevention methods to help you continue enjoying the benefits of yoga without the discomfort of pain or inflammation in your body.
Key Takeaways
- Effective remedies for knee soreness after yoga
- Immediate relief strategies for acute knee pain
- Long-term prevention methods to strengthen knees
- Importance of understanding yoga’s impact on knee health
- Actionable solutions for managing knee discomfort
Understanding Post-Yoga Knee Pain
Post-yoga knee pain is a frequent complaint among yoga enthusiasts, often resulting from misalignments or overexertion during practice. To address this issue effectively, it’s crucial to understand the underlying causes and how certain yoga poses can impact the knee joints.
Common Causes of Knee Discomfort After Yoga
Several factors contribute to knee discomfort after yoga. Improper alignment in poses such as Warrior positions can put undue stress on the knee joint. Additionally, excessive pressure during lunges and repetitive stress from transitioning between poses can also cause strain.
- Tight hips can lead to knee strain as limited hip mobility forces the knees to compensate.
- Previous injuries, anatomical variations, and flexibility limitations can predispose practitioners to knee pain.
How Yoga Poses Can Impact Knee Joints
Yoga poses can significantly impact knee joints, particularly when proper alignment is not maintained or when practitioners push beyond their natural flexibility limits. The biomechanical stress on knee joints during certain poses can lead to discomfort or pain.
Understanding the difference between normal muscle soreness and potentially harmful joint pain is crucial for determining appropriate remedies and preventing long-term damage.
Immediate Post-Yoga Knee Soreness Remedies
Immediate relief from post-yoga knee soreness is achievable with proper care. When knee pain strikes after a yoga session, it’s essential to address it promptly to prevent further discomfort.
The RICE Method for Acute Knee Pain
The RICE method, standing for Rest, Ice, Compression, and Elevation, is a widely recognized approach for treating acute knee pain. Rest the affected knee to avoid further strain. Apply ice for 20 minutes, several times a day, to reduce swelling. Use compression bandages to provide support and reduce swelling. Finally, elevate your leg above heart level to minimize swelling.
Heat vs. Cold Therapy: When to Use Each
Cold therapy is ideal for acute injuries, as it helps reduce inflammation and numb the pain. Apply ice packs for the first 48 hours after the injury. On the other hand, heat therapy is better suited for chronic pain and stiffness, as it promotes blood flow and relaxation. Switch to heat therapy after the initial 48 hours if the pain persists.
Gentle Stretches for Immediate Relief
Gentle stretches can help alleviate knee tension. Try the leg stretch: stand with one hand against a wall for balance, bend one knee, and grab your foot with your hand. Gently pull your heel towards your buttocks until you feel a stretch in the front of your leg. For more information on relieving knee pain, visit https://kneehurt.com/how-to-relieve-knee-pain-without-medicine/.
Some effective stretches include:
- Gentle leg swings to loosen the knee joint
- Wall squats to strengthen the surrounding muscles
- Straight leg raises to improve flexibility

Strengthening Exercises to Support Knee Recovery
A well-structured strengthening routine is vital for supporting knee health and recovery after yoga. Strengthening the muscles around the knee, particularly the quadriceps and hamstring muscles, can help protect the knee joint and reduce soreness.
Quadriceps and Hamstring Strengthening
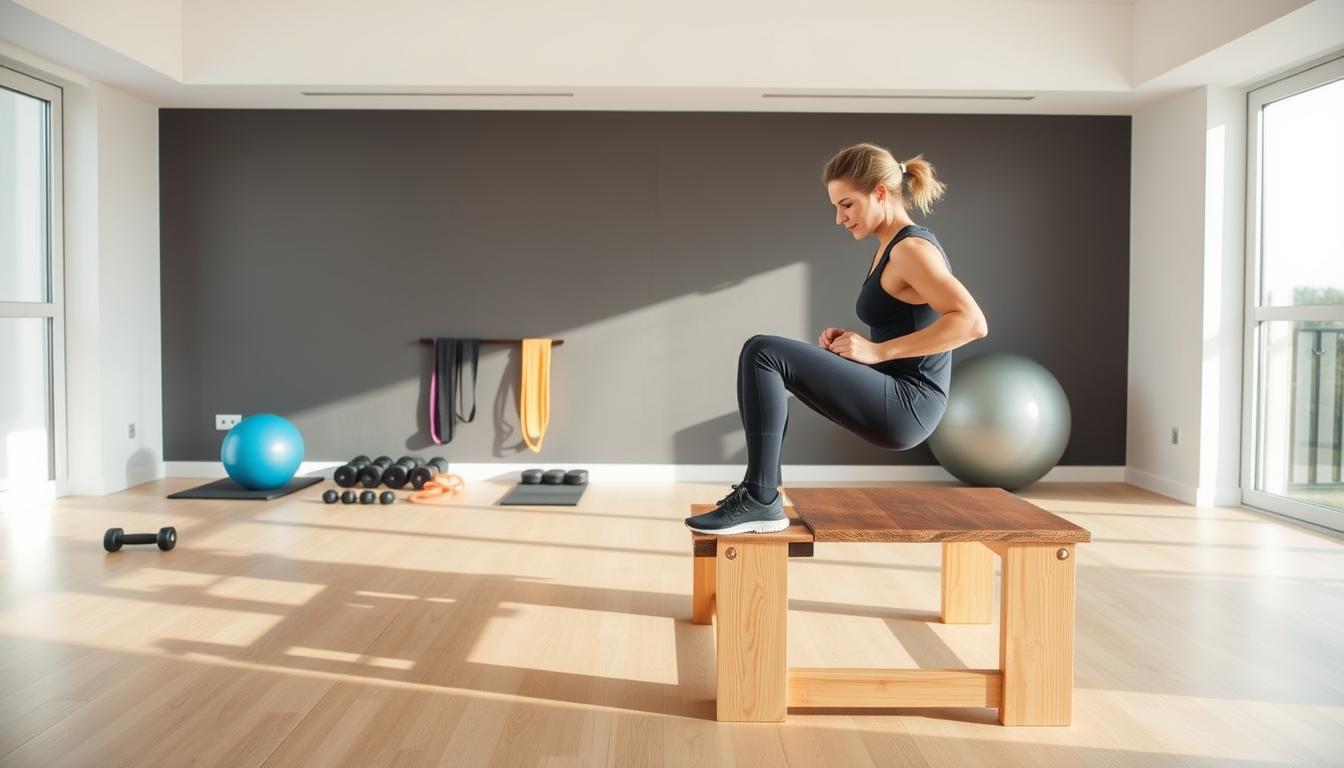
Strengthening the upper leg muscles—the quadriceps and hamstrings—through exercise can help protect the knee joint. These muscles are crucial for knee stability. Simple exercises like straightening and raising a leg while lying or sitting down can be effective. For example, step-ups involve placing one foot up on a step, then the other, and stepping down again, repeating the process. This exercise strengthens the quadriceps and helps improve knee function.
Hip and Core Exercises for Knee Support
The stability of the hips and the strength of the core muscles play a significant role in maintaining proper knee alignment during yoga. Exercises that strengthen the hip abductors and external rotators can help prevent knee misalignment. Additionally, a strong core helps maintain proper alignment throughout the kinetic chain, reducing strain on the knees. Engaging in core strengthening routines can improve overall stability and form during yoga practice.
Low-Impact Activities During Recovery
During knee recovery, it’s essential to maintain fitness without putting excessive strain on the knee. Low-impact activities such as swimming, walking, and modified cycling are recommended. These activities help maintain the range of motion and strengthen the surrounding muscles without exacerbating knee soreness. They are ideal for continuing fitness routines while allowing the knees to recover.
Proper Posture and Alignment Techniques
To avoid knee discomfort, it’s vital to focus on proper posture and alignment techniques in yoga. Maintaining correct alignment is crucial for preventing unnecessary strain on the knee joint.
One of the key factors in preventing knee pain is understanding how to correctly align your body in various yoga poses. Misalignment can lead to uneven distribution of pressure, potentially causing pain and injury.
Correcting Common Yoga Alignment Mistakes
Common alignment mistakes, such as improper tracking of the knee over the ankle in lunges and warrior poses, can lead to significant knee strain. We identify and demonstrate corrections for these mistakes to help minimize knee pain.
Tight muscles in other areas of the body, particularly the hips and ankles, can also force the knees into compromised positions. Addressing these underlying issues is crucial for maintaining healthy knee alignment.
Using Props and Modifications for Knee Protection
Using yoga props like blocks, straps, and bolsters can help modify challenging poses and reduce pressure on the knee. These props enable practitioners to maintain the benefits of the practice while protecting their knees.
Specific alignment principles for problematic poses like Virasana (Hero Pose), Lotus, and deep lunges will be explained with clear visual cues for proper positioning. Honoring your body’s limitations and progressing gradually is key to preventing yoga-related joint pain.
| Pose | Common Alignment Mistake | Correction |
|---|---|---|
| Lunge | Knee extending past ankle | Align knee with ankle |
| Warrior | Knee collapsing inward | Keep knee over ankle |
| Virasana (Hero Pose) | Strain on knee joint | Use block or strap for support |
Natural Anti-Inflammatory Remedies
Natural anti-inflammatory remedies offer a promising solution for those experiencing knee pain following yoga practice. These remedies can help reduce inflammation and alleviate pain without the need for pharmaceuticals.

Anti-Inflammatory Foods and Supplements
Incorporating anti-inflammatory foods and supplements into your diet can significantly help reduce knee pain. Foods rich in Omega-3 fatty acids, such as salmon and mackerel, are excellent for reducing inflammation. Additionally, fruits like berries and cherries, and leafy greens like kale and spinach, provide essential antioxidants and calcium that support joint health.
Nuts and seeds, including almonds, walnuts, and flaxseeds, are also beneficial. Supplements like turmeric/curcumin and omega-3 fatty acids have been shown to decrease inflammation and support joint health.
Topical Treatments and Herbal Remedies
For localized relief, topical treatments and herbal remedies can be highly effective. Essential oils, such as arnica oil, and herbal salves can be applied directly to the affected area to reduce pain and inflammation. Natural liniments made from ingredients like ginger and capsaicin also offer relief.
These topical treatments work by reducing inflammation at the site of pain, providing quick and effective relief from knee pain after yoga.
When to Seek Professional Help
Recognizing the signs that indicate the need for professional help for post-yoga knee pain is essential for effective recovery. While some discomfort is normal, especially after challenging poses, certain symptoms warrant medical attention to prevent further injury or complications.
Warning Signs That Require Medical Attention
If you experience any of the following symptoms, it’s crucial to seek medical help: severe pain and swelling, deformity or severe bruising, symptoms in other parts of the body, or if your symptoms persist longer than a few days or worsen over time. Additionally, if you have other health conditions that could complicate healing or signs of infection such as a fever, you should consult your doctor immediately.
Physical Therapy Options for Persistent Pain
For persistent knee pain, physical therapy can be highly beneficial. A physical therapist will conduct a thorough evaluation to identify the cause of your pain and develop a personalized treatment plan. This may include exercises to strengthen the muscles around the knee, improve flexibility, and enhance joint mobility. Physical therapy can also help in addressing any biomechanical issues that may be contributing to your pain.

Preventing Future Yoga-Related Knee Soreness
To prevent future yoga-related knee soreness, it’s essential to adopt a multi-faceted approach that includes proper warm-up routines, mindful practice progression, and lifestyle adjustments. We will outline a comprehensive plan to help you maintain healthy knees and enjoy a pain-free yoga practice.
First, a thorough pre-yoga warm-up is crucial. This should include exercises that prepare the knees and supporting muscles for the demands of yoga, thereby reducing the risk of soreness.
Progressing safely in your yoga practice is also vital. This involves understanding your current limitations and gradually advancing to more challenging poses without overtaxing your knees.
Additionally, the importance of proper footwear and practice surfaces cannot be overstated. These factors significantly impact knee alignment and stress during standing poses. Ensuring that you practice on appropriate surfaces and wear suitable footwear can help mitigate unnecessary strain on your knees.
A balanced cross-training program that complements your yoga practice is another key component. This should focus on strengthening the muscles that support your knees and improving overall joint stability.
Lastly, lifestyle factors such as maintaining a healthy weight, staying hydrated, and allowing adequate rest between intense practices play a significant role in knee health maintenance. By incorporating these elements into your daily routine, you can significantly reduce the risk of knee soreness and enjoy a more sustainable yoga practice.
By following these guidelines and being mindful of your body’s needs, you can minimize the risk of knee pain and maintain optimal knee health.
FAQ
What causes knee pain after yoga?
We often experience knee pain after yoga due to overstretching or misalignment in certain poses, which can put pressure on our knee joints and surrounding muscles. Tight muscles in our thighs and hips can also contribute to knee discomfort.
How can I relieve knee pain immediately after yoga?
We can try the RICE method – rest, ice, compression, and elevation – to alleviate acute knee pain. Applying ice or heat, depending on the type of pain, and gentle stretches can also provide immediate relief.
Are there any exercises that can help support knee recovery?
Yes, we can strengthen our quadriceps and hamstrings to support our knee joints. Exercises that target our hips and core can also help maintain proper alignment and reduce pressure on our knees.
Can certain foods or supplements help reduce inflammation and alleviate knee pain?
We can incorporate anti-inflammatory foods and supplements into our diet to help reduce inflammation. Topical treatments and herbal remedies can also provide relief from knee pain and inflammation.
When should I seek medical attention for knee pain?
We should seek medical attention if we experience severe pain, swelling, or instability in our knee joint. If our knee pain persists or worsens over time, we should consult a healthcare professional for proper evaluation and treatment.
How can I prevent future yoga-related knee soreness?
We can take steps to prevent knee soreness by maintaining proper posture and alignment during yoga, using props and modifications when needed, and strengthening our surrounding muscles to support our knee joints.