
Iliotibial Band Syndrome Exercises With Pictures
Iliotibial band syndrome (ITBS) can sideline even the most dedicated athletes. This common overuse injury causes pain on the outside of the knee when the thick band of tissue running from your hip to your shin becomes inflamed. Whether you’re a runner, cyclist, or hiker, the right exercises can help relieve your discomfort and get you back to doing what you love.
In this comprehensive guide, we’ll explore effective exercises that target IT band syndrome, complete with step-by-step instructions and images to guide your recovery. These proven techniques address both the symptoms and underlying causes of IT band pain, helping you build strength and flexibility in the supporting muscles.
Understanding IT Band Syndrome
The iliotibial band runs from the hip to just below the knee
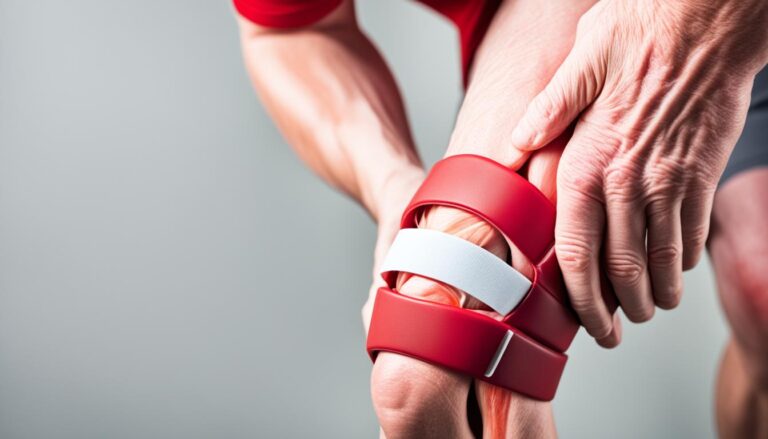
The iliotibial (IT) band is a thick strip of connective tissue that runs along the outside of your thigh from your hip to your knee and shinbone. When this band becomes tight or inflamed, it can rub against the thigh bone, causing friction, irritation, and pain—particularly on the outside of the knee.
Common causes of IT band syndrome include:
- Overtraining or sudden increases in activity level
- Running on banked or uneven surfaces
- Weakness in hip and glute muscles
- Poor running or cycling form
- Anatomical factors like leg length discrepancies
Symptoms typically include sharp or burning pain on the outside of the knee, especially during activities that require repetitive knee bending like running or cycling. You might also experience tightness along the outside of your thigh.
Stretching Exercises for IT Band Relief
Stretching helps reduce tension in the IT band and surrounding tissues. Perform these stretches gently and hold each for 20-30 seconds, repeating 2-3 times on each side.
1. Standing IT Band Stretch
This stretch directly targets the IT band and outer thigh muscles.
- Stand upright with your feet together.
- Cross your right leg in front of your left at the ankles.
- Extend your right arm overhead and reach toward your left side.
- You should feel a stretch along your left hip and outer thigh.
- Hold for 30 seconds, then switch sides.
2. Figure-4 Stretch
This stretch targets the piriformis and glute muscles that can contribute to IT band tightness.
- Lie on your back with knees bent and feet flat on the floor.
- Cross your right ankle over your left thigh, creating a figure “4” shape.
- Grasp behind your left thigh and gently pull toward your chest.
- Feel the stretch in your right hip and glute area.
- Hold for 30 seconds, then switch sides.
3. Foam Roller IT Band Release
While technically not a stretch, foam rolling helps release tension in the IT band and surrounding tissues.
- Lie on your side with the foam roller under your thigh.
- Support your upper body with your forearm.
- Slowly roll from just below your hip to above your knee.
- Pause on tender spots for 20-30 seconds.
- Continue for 1-2 minutes, then switch sides.
Strengthening Exercises for IT Band Support
Strengthening the muscles that support your IT band—particularly your glutes and hip abductors—is crucial for long-term relief. Perform 2-3 sets of 10-15 repetitions of each exercise.
4. Side-Lying Leg Raises

This exercise strengthens the hip abductors, which help stabilize your pelvis during walking and running.
- Lie on your right side with legs stacked.
- Bend your right leg slightly for stability.
- Keep your left leg straight and slowly raise it upward.
- Hold at the top for 2 seconds.
- Lower with control and repeat.
- Complete your set, then switch sides.
5. Clamshells
Clamshells target the gluteus medius, a key muscle for hip stability that helps prevent IT band issues.
- Lie on your side with knees bent at a 45-degree angle.
- Keep your feet together and hips stacked.
- Keeping your feet touching, raise your top knee as high as possible.
- Ensure your pelvis doesn’t roll backward.
- Lower with control and repeat.
- Complete your set, then switch sides.
6. Glute Bridges
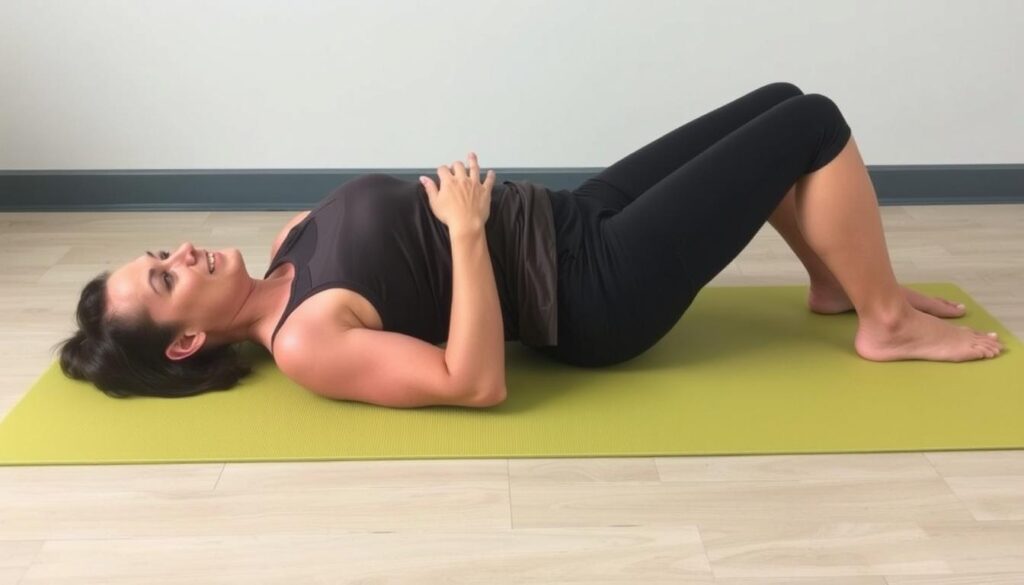
Glute bridges strengthen your gluteal muscles and improve hip stability.
- Lie on your back with knees bent and feet flat on the floor.
- Place your arms at your sides with palms down.
- Squeeze your glutes and lift your hips toward the ceiling.
- Create a straight line from shoulders to knees.
- Hold for 2 seconds at the top.
- Lower with control and repeat.
7. Lateral Band Walks
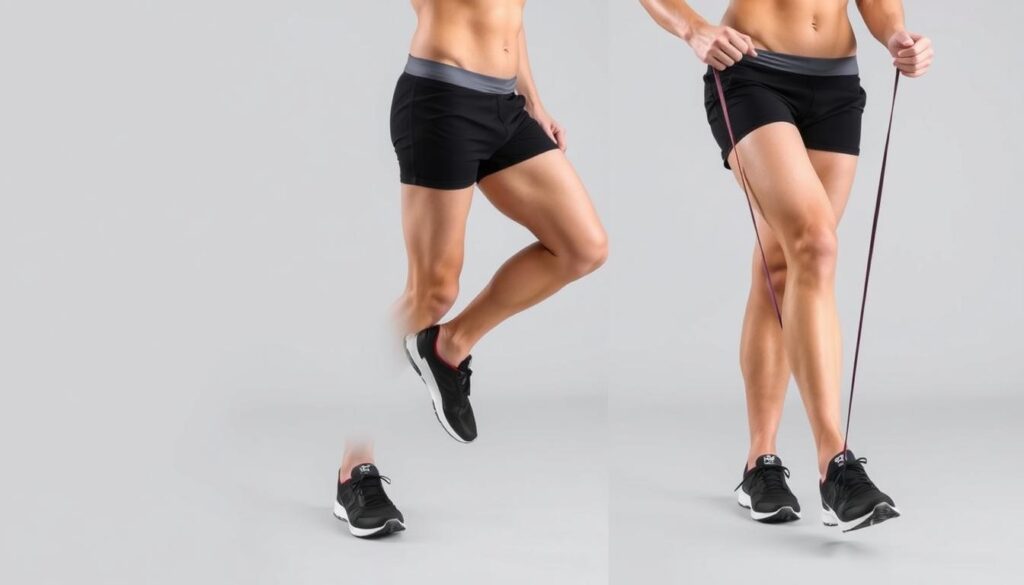
This exercise strengthens the hip abductors while mimicking functional movement patterns.
- Place a resistance band just above your knees.
- Stand with feet hip-width apart, knees slightly bent.
- Step sideways with your right foot, maintaining band tension.
- Follow with your left foot, keeping feet hip-width apart.
- Take 10-15 steps in one direction, then reverse.
- Maintain proper posture throughout the movement.
8. Side Planks
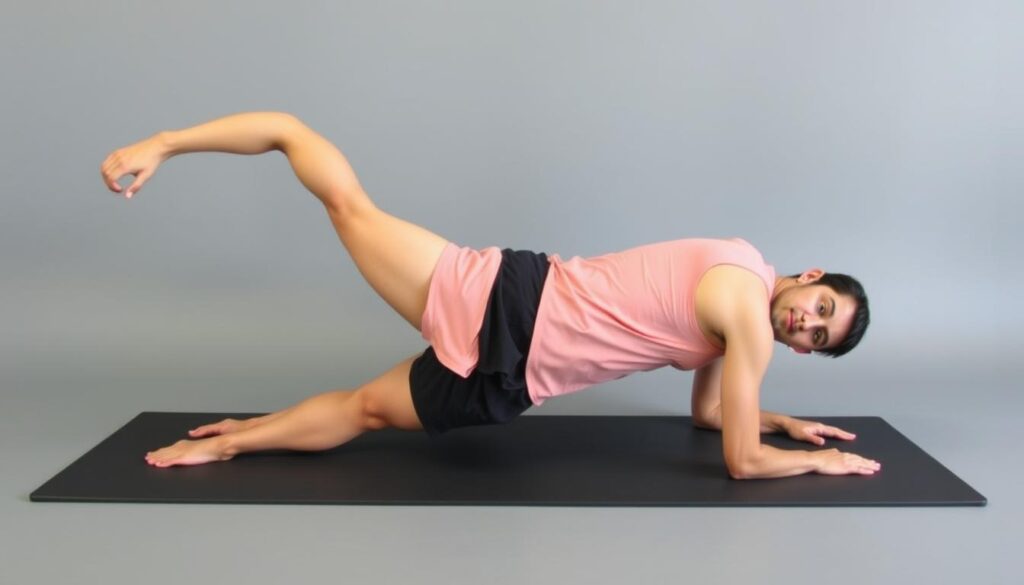
Side planks build core and hip stability, which helps maintain proper alignment during activities.
- Lie on your side with legs stacked.
- Prop yourself up on your forearm, elbow under shoulder.
- Lift your hips so your body forms a straight line.
- Hold this position, keeping your core engaged.
- Start with 20-30 seconds and gradually increase time.
- Repeat on the other side.
Creating Your IT Band Exercise Routine

For optimal results, incorporate these exercises into a consistent routine:
Daily Routine (10-15 minutes)
- Foam rolling (1-2 minutes per side)
- Standing IT band stretch (30 seconds per side)
- Figure-4 stretch (30 seconds per side)
3-4 Times Per Week (20-30 minutes)
- All three stretches
- All five strengthening exercises
- Focus on proper form over repetitions
Important: Start with fewer repetitions and gradually increase as your strength improves. If an exercise causes pain (not just discomfort), stop and consult a healthcare professional.
Preventing IT Band Syndrome
Beyond exercises, these strategies can help prevent IT band syndrome from recurring:
Training Modifications
- Increase mileage gradually (no more than 10% per week)
- Run on flat, even surfaces when possible
- Alternate running directions on tracks
- Include rest days between intense workouts
Equipment Considerations
- Replace running shoes every 300-500 miles
- Consider custom orthotics if you have biomechanical issues
- Ensure proper bike fit if you’re a cyclist
- Use a foam roller regularly for maintenance
Recovery Practices
- Apply ice after activities if needed (15-20 minutes)
- Maintain proper hydration
- Warm up properly before exercise
- Cool down with gentle stretching
When to Seek Professional Help
While these exercises can be effective for many people with IT band syndrome, some cases require professional intervention. Consider consulting a healthcare provider if:
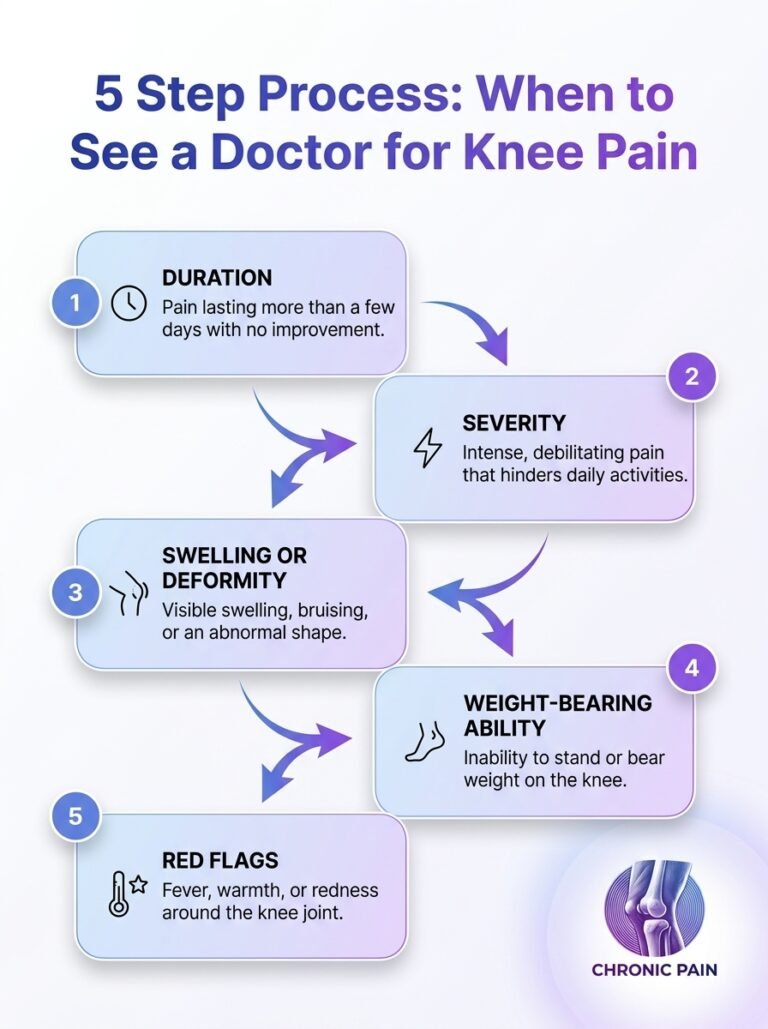
- Pain persists despite 2-3 weeks of consistent exercises
- Pain is severe or worsening
- You experience clicking, popping, or locking in the knee
- You’re unable to bear weight on the affected leg
- You want a personalized exercise program tailored to your specific needs
Get Personalized IT Band Treatment
Our physical therapists specialize in treating IT band syndrome with customized exercise programs and hands-on techniques. Schedule your free assessment today to start your recovery journey.
Frequently Asked Questions
How long does IT band syndrome take to heal?
Should I stop running if I have IT band syndrome?
Can I use heat or ice for IT band pain?
Conclusion
Iliotibial band syndrome can be frustrating, but with consistent application of these exercises and preventive strategies, most people experience significant improvement. Remember that healing takes time—be patient with your body and focus on gradual progress rather than quick fixes.
Consistency is key when addressing IT band issues. Perform these exercises regularly, even after your symptoms improve, to prevent recurrence. And always consult with a healthcare professional if you’re experiencing severe or persistent pain.
Take Your Recovery Further
Download our comprehensive IT Band Recovery Guide for additional exercises, recovery tips, and a printable exercise log to track your progress.