Are you experiencing discomfort and swelling in your knee joint? Excess fluid accumulation can be a challenging condition to manage, but there are effective ways to alleviate the symptoms.
Knee effusion relief is possible through various methods, including massage therapy. By applying specific techniques, individuals can promote healing and reduce discomfort.
This article will explore the benefits of massage techniques in managing knee effusion and provide an overview of what to expect from this therapeutic approach.
Key Takeaways
- Understanding knee effusion and its causes
- The role of massage therapy in effusion relief
- Benefits of massage techniques for knee health
- What to expect from massage therapy for knee effusion
- Promoting overall knee health through massage
Understanding Knee Effusion and Its Causes
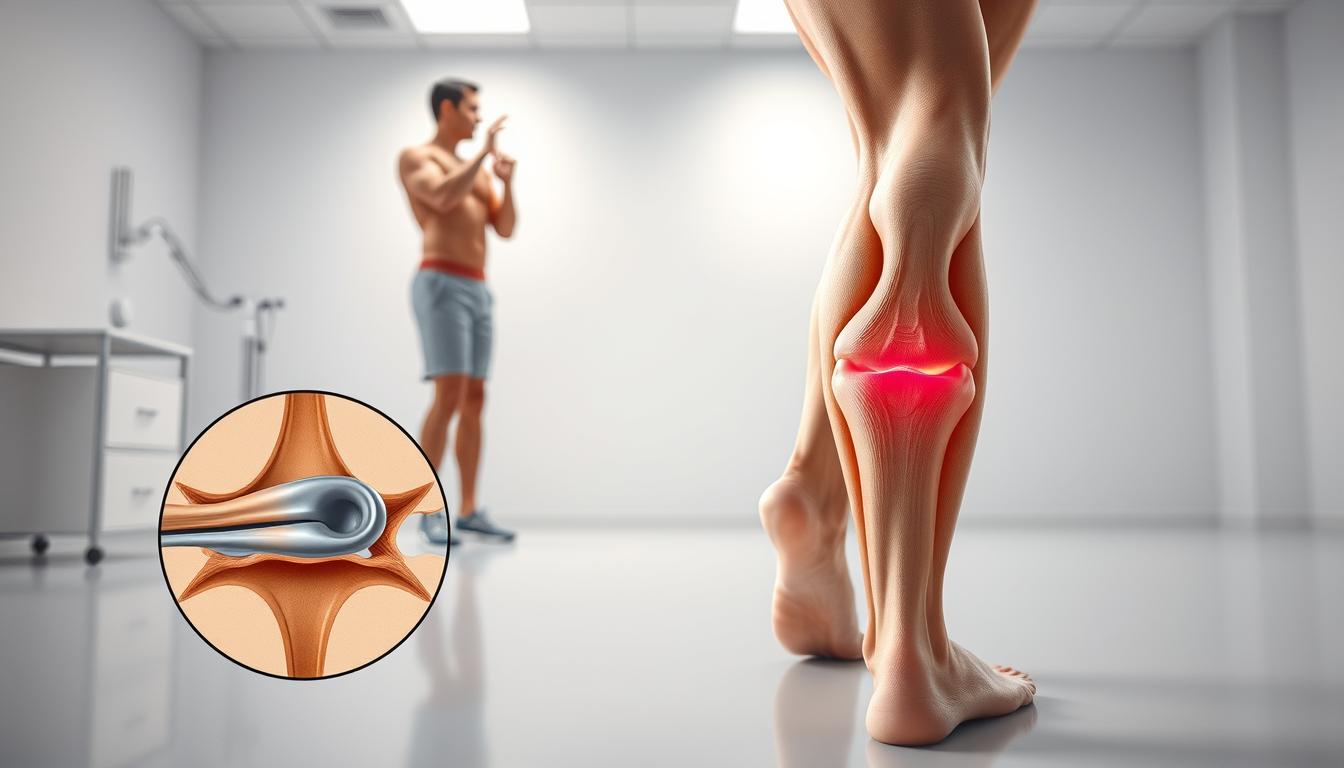
Understanding knee effusion is crucial for effective management and treatment of knee-related issues. Knee effusion, characterized by an abnormal accumulation of fluid in the knee joint, can result from a variety of causes, including injuries, arthritis, and infections.
What Is Knee Effusion?
Knee effusion, also known as water on the knee, occurs when there’s an excess of fluid in the knee joint. This condition can lead to swelling, pain, and limited mobility. The knee joint is a complex structure comprising bones, ligaments, and tendons, all of which can be affected by effusion.
The symptoms of knee effusion can vary, but common signs include swelling around the knee, pain or tenderness, and a feeling of stiffness or instability in the knee. In some cases, the knee may feel warm to the touch or appear red.
Common Causes of Knee Effusion
Knee effusion can result from various factors, including:
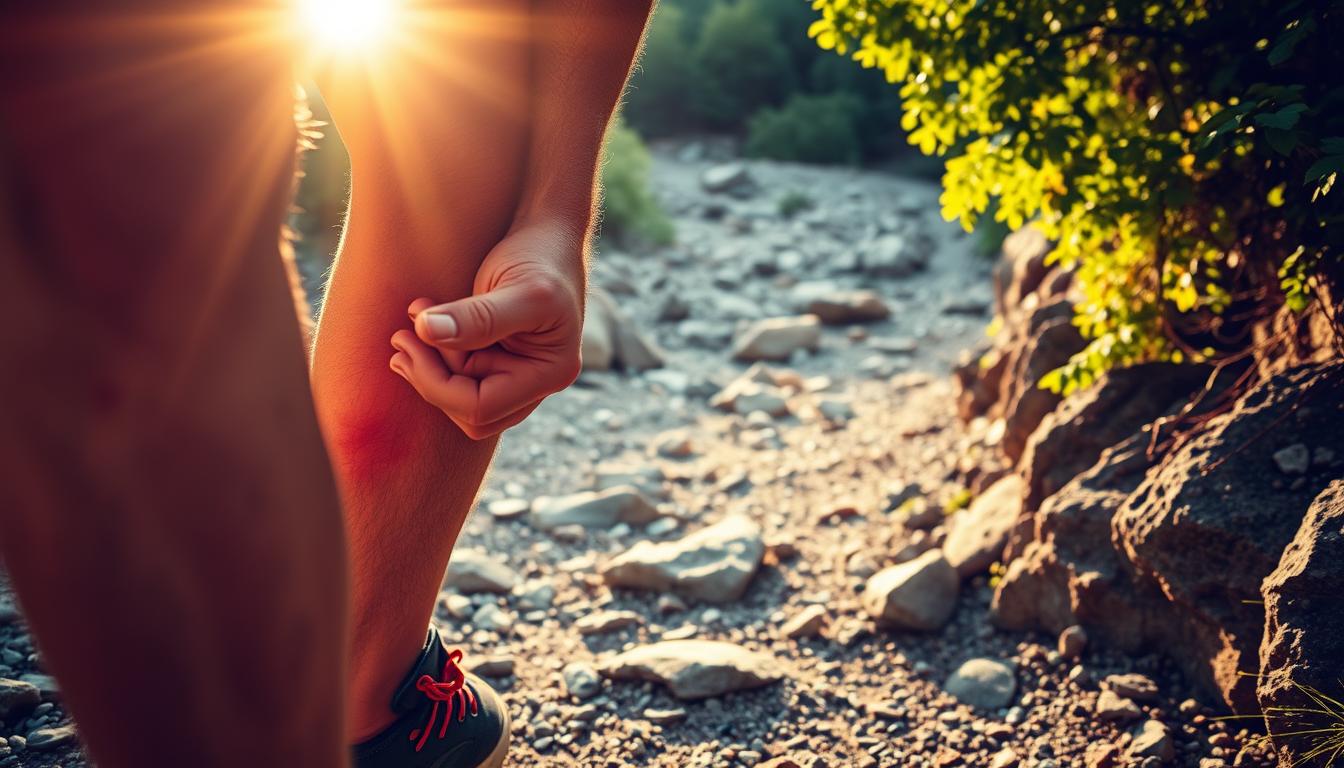
- Injuries: Trauma to the knee, such as ligament sprains or tears, fractures, or meniscal tears, can lead to effusion.
- Arthritis: Conditions like osteoarthritis, rheumatoid arthritis, and gout can cause knee effusion due to inflammation and joint damage.
- Infections: Bacterial or viral infections within the knee joint can cause effusion, often accompanied by other symptoms like fever and redness.
- Other Conditions: Certain conditions, such as bursitis or tendinitis, can also contribute to knee effusion.
Understanding the underlying cause of knee effusion is essential for determining the most effective treatment plan, which may include knee swelling massage as part of a comprehensive approach to managing the condition.
Benefits of Massage for Knee Effusion
Massage therapy offers numerous benefits for individuals suffering from knee effusion, including pain relief and improved mobility. By applying various massage techniques, individuals can experience significant improvements in their condition.

Pain Relief through Massage
One of the primary benefits of massage therapy for knee effusion is pain relief. Massage helps to reduce pain by increasing blood flow to the affected area, relaxing the muscles, and releasing tension. Techniques such as effleurage and petrissage can be particularly effective in achieving pain relief.
By reducing pain, individuals can regain functionality and mobility in their knee, improving their overall quality of life. Regular massage sessions can lead to sustained pain relief, making it a valuable component of a comprehensive treatment plan for knee effusion.
Improved Range of Motion
Massage therapy also contributes to an improved range of motion in the knee. By breaking down adhesions and scar tissue, massage helps to restore normal movement patterns. This is particularly beneficial for individuals with knee effusion, as the condition often results in stiffness and reduced mobility.
Through regular massage, individuals can experience enhanced flexibility and a greater range of motion, facilitating everyday activities and reducing the risk of further injury.
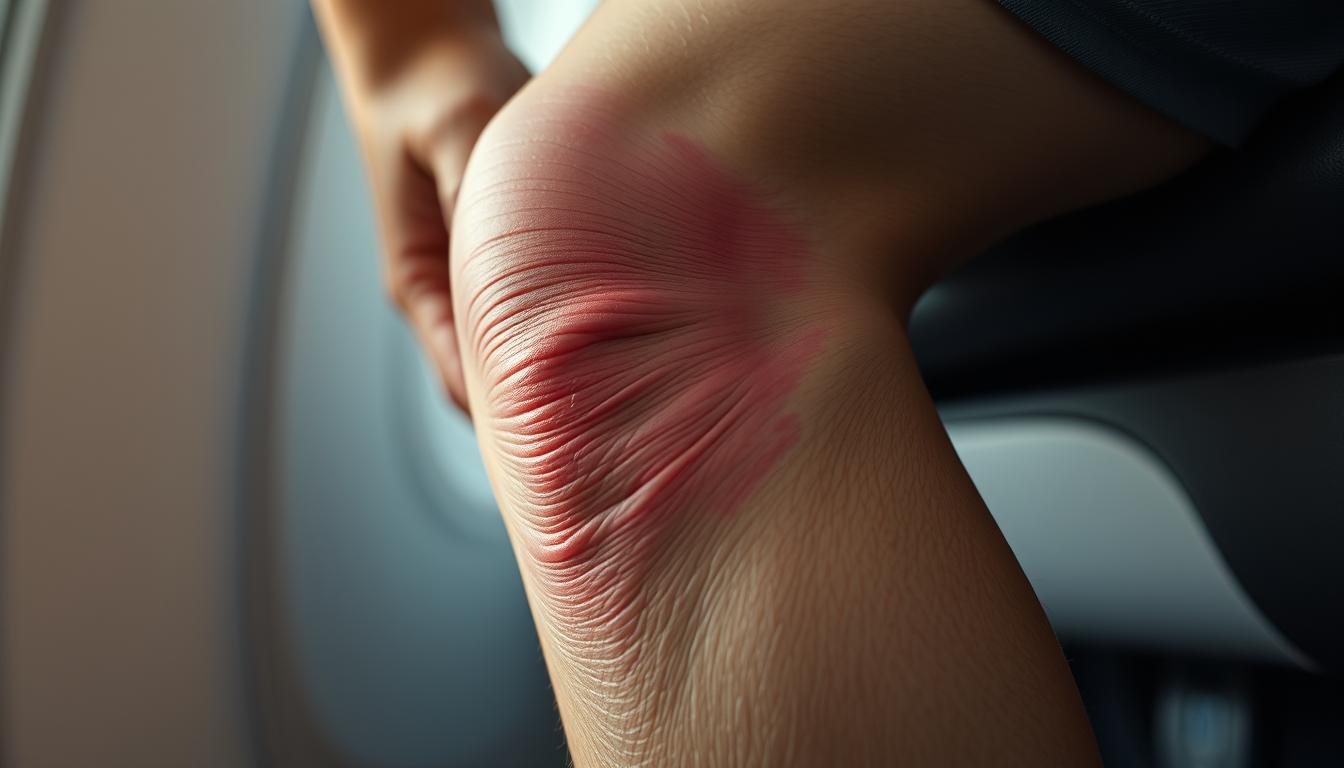
Reducing Swelling
Another significant benefit of massage for knee effusion is the reduction of swelling. Techniques such as manual lymphatic drainage can help to promote the removal of excess fluid from the knee, thereby reducing swelling and inflammation.
By incorporating massage into their treatment regimen, individuals can potentially reduce the severity of knee effusion symptoms, leading to improved comfort and function.
Preparing for a Knee Massage
Before diving into a knee massage, it’s crucial to prepare adequately to ensure effectiveness and safety. Proper preparation can significantly enhance the benefits of the massage, whether you’re addressing knee effusion or other knee-related issues.
Necessary Tools and Equipment
To perform a knee massage effectively, you’ll need a few basic tools and equipment. These may include massage oil or lotion to reduce friction, a massage table or a comfortable surface to lie on, and possibly a foam roller or massage ball for self-massage techniques.
Essential Tools:
- Massage oil or lotion
- Massage table or comfortable surface
- Foam roller or massage ball
| Tool/Equipment | Purpose |
|---|---|
| Massage Oil/Lotion | Reduces friction, allowing for smoother massage strokes |
| Massage Table/Comfortable Surface | Provides support and comfort during the massage |
| Foam Roller/Massage Ball | Aids in self-massage, targeting specific areas of tension |
Finding a Comfortable Space
Creating a comfortable and relaxing environment is vital for an effective knee massage. This involves choosing a quiet, warm space where you can relax without distractions.
Tips for a Comfortable Space:
- Minimize noise and distractions
- Maintain a comfortable temperature
- Use a comfortable surface or massage table
Warm-Up Techniques
Before starting the massage, incorporating warm-up techniques can help increase blood flow to the area and prepare the muscles for the massage. Simple exercises or light cardio can serve as effective warm-ups.
Warm-Up Exercises:
- Light cardio, such as walking or cycling
- Gentle stretching of the knee and surrounding areas
Basic Massage Techniques for Knee Effusion
Basic massage techniques can significantly alleviate the discomfort associated with knee effusion. These techniques not only help in reducing swelling but also improve the overall mobility of the knee.

There are several massage techniques that can be employed to manage knee effusion effectively. The following sections will delve into the specifics of these techniques.
Effleurage: Gentle Stroking
Effleurage is a gentle stroking technique that is often used at the beginning of a massage session to warm up the tissue. It involves long, flowing strokes that can be performed in the direction of the muscle fibers or in a circular motion. This technique helps in increasing blood flow to the area, thereby promoting healing and reducing stiffness.
Petrissage: Kneading Techniques
Petrissage involves kneading the affected area to help break down adhesions and promote lymphatic drainage. This technique can be particularly beneficial for individuals with knee effusion as it aids in reducing swelling and improving tissue mobility. The kneading motion should be gentle yet firm to be effective.
Frictions: Deep Tissue Focus
Frictions are deep, specific strokes applied across the grain of the muscle fibers, tendons, or ligaments. This technique is particularly useful for targeting areas of tension and scar tissue that may be contributing to knee effusion. By applying frictions, one can help break down these adhesions, thereby improving knee function and reducing pain.
By incorporating these basic massage techniques into a regular routine, individuals can potentially experience significant relief from knee effusion symptoms. It’s essential to be consistent and patient, as massage therapy is most effective when performed regularly.
Advanced Massage Techniques
Beyond basic massage, advanced techniques such as manual lymphatic drainage and trigger point therapy can provide substantial relief for knee effusion sufferers. These methods can be particularly effective when combined with other treatments, enhancing overall knee health and function.
Manual Lymphatic Drainage
Manual lymphatic drainage is a gentle massage technique that encourages the removal of excess fluids from the affected area, potentially reducing swelling associated with knee effusion. By stimulating the lymph nodes, this technique aids in the body’s natural detoxification process, promoting healing and reducing inflammation.
Trigger Point Therapy
Trigger point therapy involves applying pressure to specific areas of the muscle to alleviate pain and stiffness. For knee effusion, this can mean targeting the muscles around the knee to reduce tension and improve mobility. Regular application of trigger point therapy can lead to significant improvements in knee function and a reduction in pain.
Myofascial Release
Myofascial release is a technique that targets the fascia, the connective tissue surrounding muscles. By applying sustained pressure, myofascial release can help reduce fascial restrictions, improving range of motion and reducing pain associated with knee effusion. This technique can be particularly beneficial when combined with other massage methods.
By incorporating these advanced massage techniques into a treatment plan, individuals with knee effusion can potentially experience enhanced relief and improved knee function. It’s essential to consult with a healthcare professional before starting any new therapy to ensure it’s appropriate for your specific condition.
Self-Massage Techniques for Knee Effusion
Self-massage techniques provide an accessible means of managing knee effusion symptoms at home. By utilizing simple tools and methods, individuals can alleviate discomfort and improve knee function.
Using a Foam Roller
A foam roller can be an effective tool for massaging the knee area. To use a foam roller for knee effusion relief, start by positioning the roller under your knee and gently rolling back and forth. This technique helps to loosen tight muscles and improve circulation. For more information on foam rolling techniques, you can refer to resources like the American Massage Therapy Association.

The Role of Massage Balls
Massage balls offer another effective means of targeting specific areas around the knee. By applying pressure with a massage ball, individuals can release tension in the surrounding muscles, thereby reducing swelling and pain associated with knee effusion.
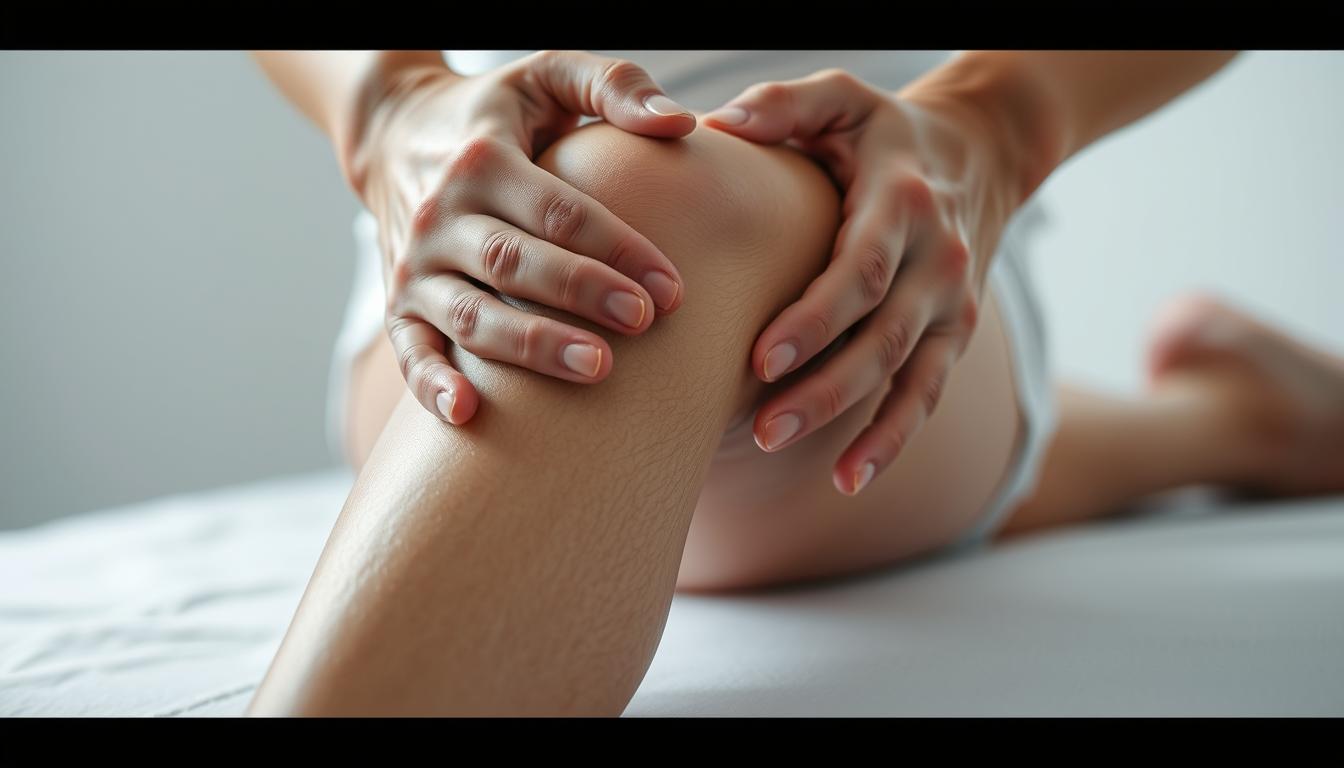
Simple Hand Techniques
For those without access to tools like foam rollers or massage balls, simple hand techniques can provide significant relief. Gently stroking or kneading the area around the knee can help reduce swelling and promote healing. It’s essential to be gentle, as knee effusion can make the area sensitive.
“Massage therapy, including self-massage, is a valuable adjunct to other treatments for knee effusion,” notes a study on massage therapy benefits. “It can help in reducing pain and improving function.”
When to Seek Professional Help
While self-massage techniques can be beneficial for managing knee effusion, there are instances where seeking professional help is essential. Understanding the signs that indicate the need for professional assistance is crucial for effective knee effusion management.
Signs Indicating the Need for a Therapist
Certain symptoms and conditions may necessitate seeking help from a qualified massage therapist or healthcare professional. These include:
- Persistent or severe knee pain
- Significant swelling or inflammation that does not improve with self-care
- Reduced mobility or stiffness in the knee joint
- Recent trauma or injury to the knee
If you experience any of these symptoms, it is advisable to consult a professional for a thorough assessment and appropriate treatment.
How to Choose a Qualified Massage Therapist
Selecting a qualified massage therapist is vital for effective knee effusion treatment. Consider the following factors when making your choice:
| Criteria | Description |
|---|---|
| Qualifications and Certifications | Ensure the therapist has relevant qualifications and certifications in massage therapy. |
| Experience | Look for therapists with experience in treating knee effusion or similar conditions. |
| Client Reviews and Referrals | Check for positive reviews and ask for referrals from trusted sources. |
By carefully evaluating these factors, you can find a qualified massage therapist who can provide effective treatment for knee effusion.
In conclusion, knowing when to seek professional help and how to choose a qualified massage therapist are essential components of effective knee effusion management. By being aware of the signs that indicate the need for professional assistance and selecting a therapist based on relevant criteria, individuals can receive the appropriate care needed to alleviate symptoms and improve knee health.
Safety Precautions during Massage
To ensure a safe and effective knee massage experience, certain precautions must be taken. When performing knee swelling massage, it’s essential to be mindful of the techniques and pressure applied to avoid causing further irritation or injury.
Avoiding Irritation and Pain
One of the primary concerns during massage therapy for reducing knee effusion is avoiding actions that could irritate the knee further or cause pain. Gentle, controlled movements are recommended, especially in the initial stages of massage.
It’s also crucial to communicate with the person receiving the massage, ensuring that they are comfortable and not experiencing undue pain. If pain is reported, the technique or pressure should be adjusted accordingly.
Techniques to Reduce Pressure
Several techniques can help reduce pressure during a knee massage. Using gentle stroking motions, such as effleurage, can be an effective way to begin the massage without applying too much pressure.
Additionally, incorporating manual lymphatic drainage can help in reducing swelling without exerting excessive pressure on the knee.
Time Limits on Massage Sessions
It’s also important to consider the duration of the massage session. Initially, sessions should be relatively short, around 10-15 minutes, to gauge the knee’s response to the massage.
As the knee becomes more tolerant, the session duration can be gradually increased. However, it’s crucial to monitor the knee’s condition and adjust the massage duration accordingly to avoid overexertion.
Incorporating Other Treatments with Massage
For comprehensive management of knee effusion, it’s beneficial to integrate massage with other treatments. This multi-faceted approach can enhance knee effusion relief and improve overall knee joint health.
Stretching and Strengthening Exercises
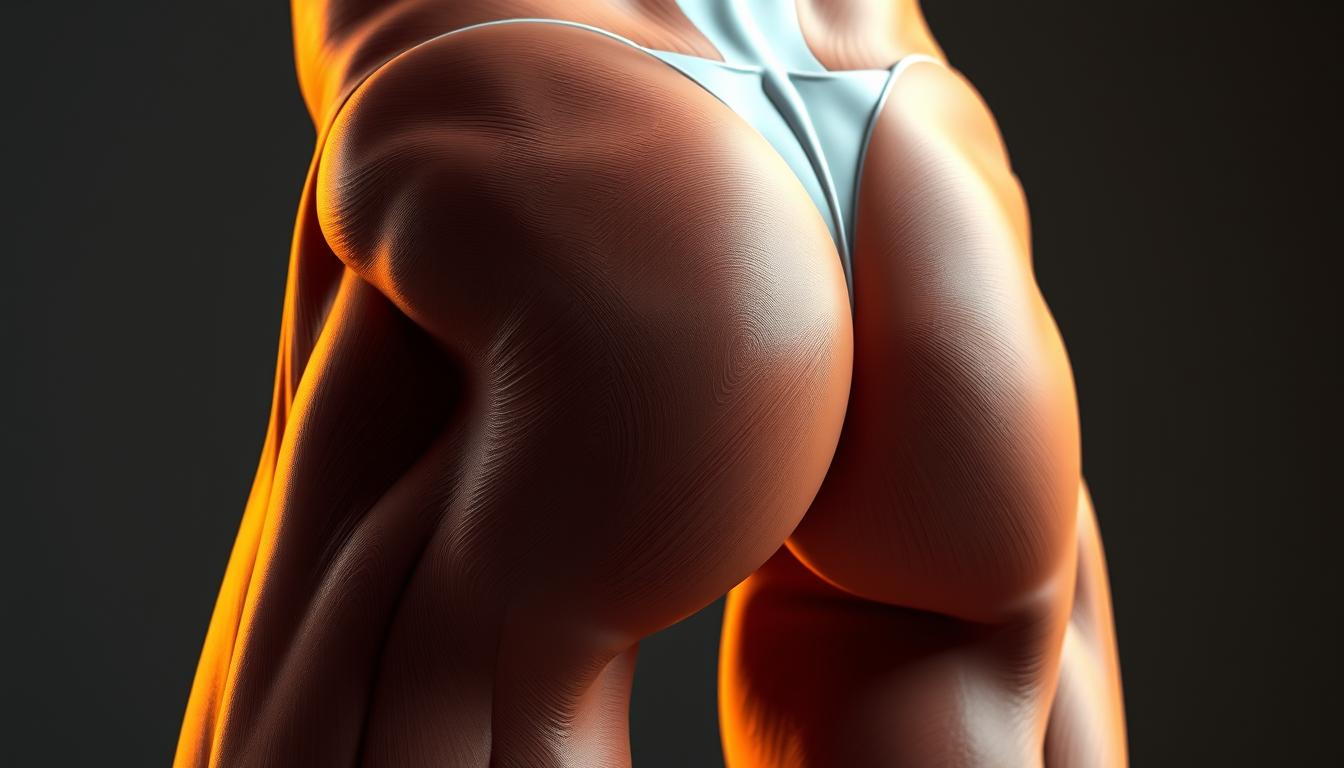
Stretching and strengthening exercises play a crucial role in managing knee effusion. Gentle stretching can improve flexibility and range of motion, while strengthening the muscles around the knee provides additional support and stability. Exercises such as straight leg raises, quad sets, and hamstring curls are beneficial.
It’s essential to start with low-intensity exercises and gradually increase the intensity based on comfort and pain levels. Consulting with a healthcare professional or physical therapist can help tailor an exercise program that suits individual needs.
Cold and Heat Therapy
Cold and heat therapy are simple yet effective treatments that can be used in conjunction with massage. Cold therapy, or cryotherapy, helps reduce inflammation and pain by constricting blood vessels. Heat therapy, on the other hand, promotes blood flow and relaxes muscles, aiding in the healing process.
Alternating between cold and heat therapy can provide optimal benefits. Typically, cold therapy is recommended during the acute phase of injury, while heat therapy is more beneficial during the recovery phase.
Dietary Considerations
Dietary adjustments can also play a significant role in managing knee effusion. Consuming a balanced diet rich in anti-inflammatory foods such as omega-3 fatty acids, antioxidants, and fiber can help reduce inflammation. Foods like fatty fish, nuts, seeds, and leafy greens are beneficial.
Staying hydrated is equally important, as it helps maintain joint lubrication and overall health. Limiting processed foods and those high in sugar and salt can further contribute to reducing inflammation and promoting healing.
By incorporating these treatments alongside massage therapy, individuals can experience enhanced knee joint massage for effusion benefits, leading to improved knee health and function.
Conclusion: Maximizing the Benefits of Knee Effusion Massage
Effective knee effusion management involves a combination of techniques, including massage, to alleviate symptoms and improve quality of life. By incorporating knee effusion massage techniques into your routine, you can experience significant benefits.
Key Takeaways
The various massage techniques discussed, such as effleurage, petrissage, and manual lymphatic drainage, can be used to relieve pain, improve range of motion, and reduce swelling. Consistency is key to maximizing the benefits of these techniques.
Maintaining Progress
To achieve optimal results, it’s essential to practice self-care and maintain consistency in your massage routine. By doing so, you can effectively manage knee effusion and improve your overall well-being. Regular practice of knee effusion massage techniques can lead to better knee effusion management.
FAQ
What is knee effusion?
Knee effusion, also known as water on the knee, is a condition characterized by the accumulation of excess fluid in the knee joint, leading to swelling and discomfort.
How can massage help with knee effusion?
Massage can help alleviate knee effusion by promoting lymphatic drainage, reducing swelling, relieving pain, and improving range of motion.
What are some basic massage techniques for knee effusion?
Basic massage techniques for knee effusion include effleurage (gentle stroking), petrissage (kneading), and frictions (deep tissue focus), which can help reduce swelling and promote healing.
Can I perform self-massage for knee effusion?
Yes, self-massage techniques such as using a foam roller, massage balls, and simple hand techniques can be effective in managing knee effusion.
When should I seek professional help for knee effusion?
You should seek professional help if you experience persistent or severe knee effusion, or if you have signs of infection, such as redness, warmth, or fever.
How do I choose a qualified massage therapist?
To choose a qualified massage therapist, look for someone with proper training, certification, and experience in treating knee effusion and related conditions.
Are there any safety precautions I should take during massage for knee effusion?
Yes, it’s essential to avoid irritation and pain, use techniques to reduce pressure, and limit massage sessions to avoid exacerbating the condition.
Can I combine massage with other treatments for knee effusion?
Yes, incorporating other treatments such as stretching and strengthening exercises, cold and heat therapy, and dietary considerations can provide comprehensive management of knee effusion.
How can I reduce knee swelling through massage?
Techniques such as manual lymphatic drainage and gentle stroking can help reduce knee swelling by promoting the removal of excess fluid.
What is the role of dietary considerations in managing knee effusion?
Dietary considerations, such as maintaining a healthy weight and consuming anti-inflammatory foods, can help alleviate knee effusion by reducing pressure on the knee joint and promoting overall health.
How often should I perform self-massage for knee effusion?
The frequency of self-massage depends on the severity of your condition and your individual needs, but consistency is key to maximizing the benefits of knee effusion massage.