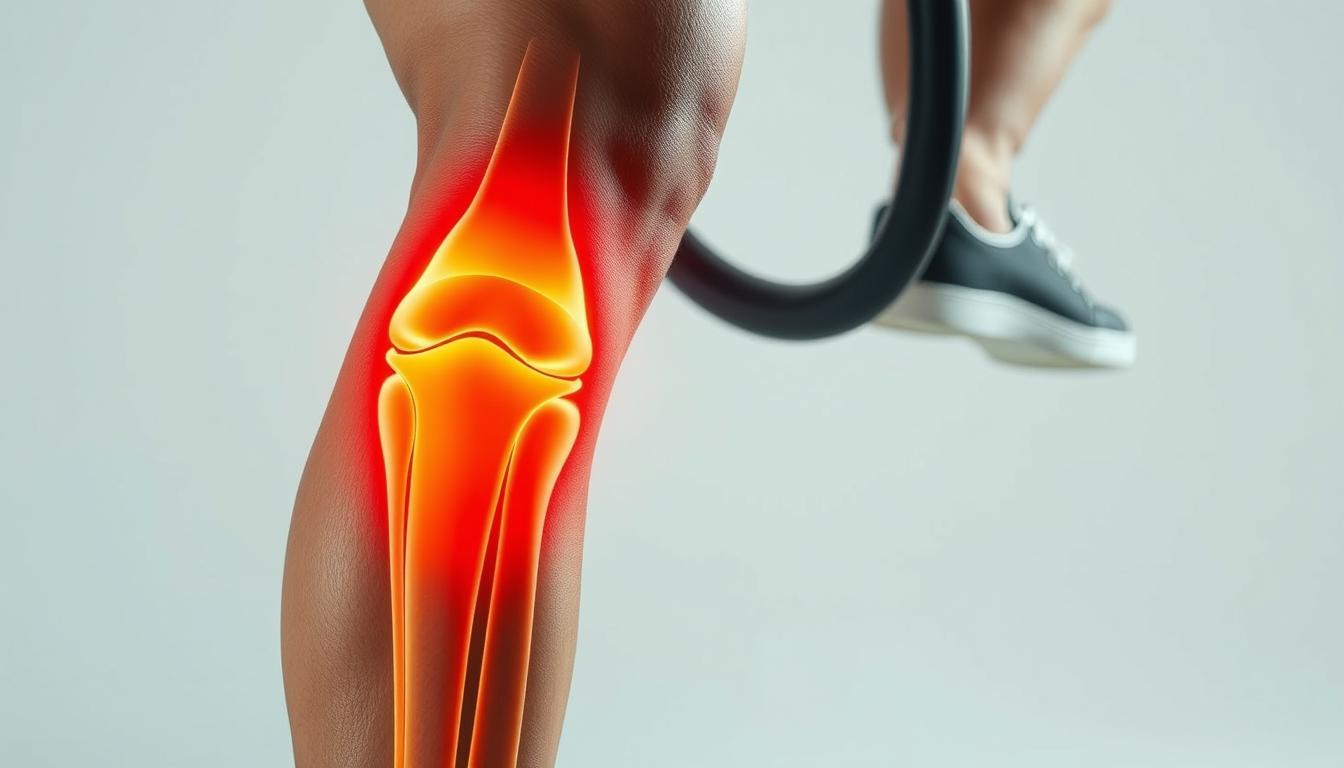
Are knee injuries holding you back from living an active lifestyle? For many, a meniscus root injury can be a significant setback. Understanding the available management options is crucial for recovery.
Meniscal injuries are common among young athletes and can also affect older patients due to degenerative conditions. Fortunately, conservative management strategies can provide relief and support healing without immediate recourse to surgery.
Key Takeaways
- Understanding meniscus root injuries and their impact on knee health.
- Exploring conservative management options for effective recovery.
- The importance of early diagnosis and intervention.
- Overview of non-surgical treatments available.
- Lifestyle adjustments to support healing and prevent further injury.
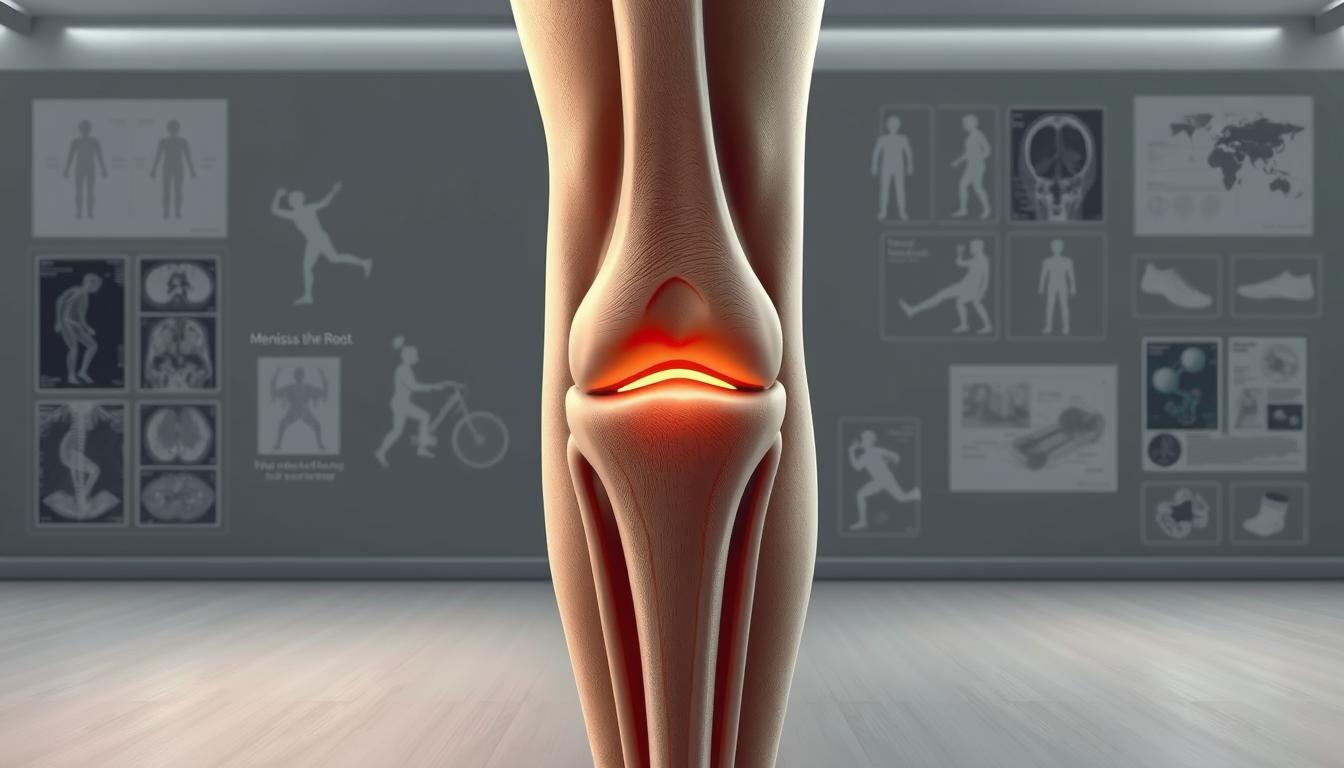
Understanding Meniscus Root Tears
Meniscus root tears are a significant concern for knee health, impacting the meniscus, a cartilage structure crucial for knee function. Understanding meniscus root tears is essential for effective knee injury management.
What is a Meniscus Root Tear?
A meniscus root tear refers to an injury where the meniscus, a cartilage structure in the knee joint, is torn at its root. The meniscus plays a vital role in knee health by absorbing shock, stabilizing the knee, and facilitating smooth movement. A meniscus root tear can significantly impair knee function, leading to pain and mechanical issues.
Common Causes of Meniscus Root Tears
Meniscus root tears can result from both traumatic injuries and degenerative changes. Traumatic causes include sudden, forceful movements or direct blows to the knee, while degenerative changes are associated with wear and tear over time, often seen in older individuals. Understanding the cause is crucial for determining the appropriate treatment.
- Sudden twisting or bending
- Degenerative wear and tear
- Direct trauma to the knee
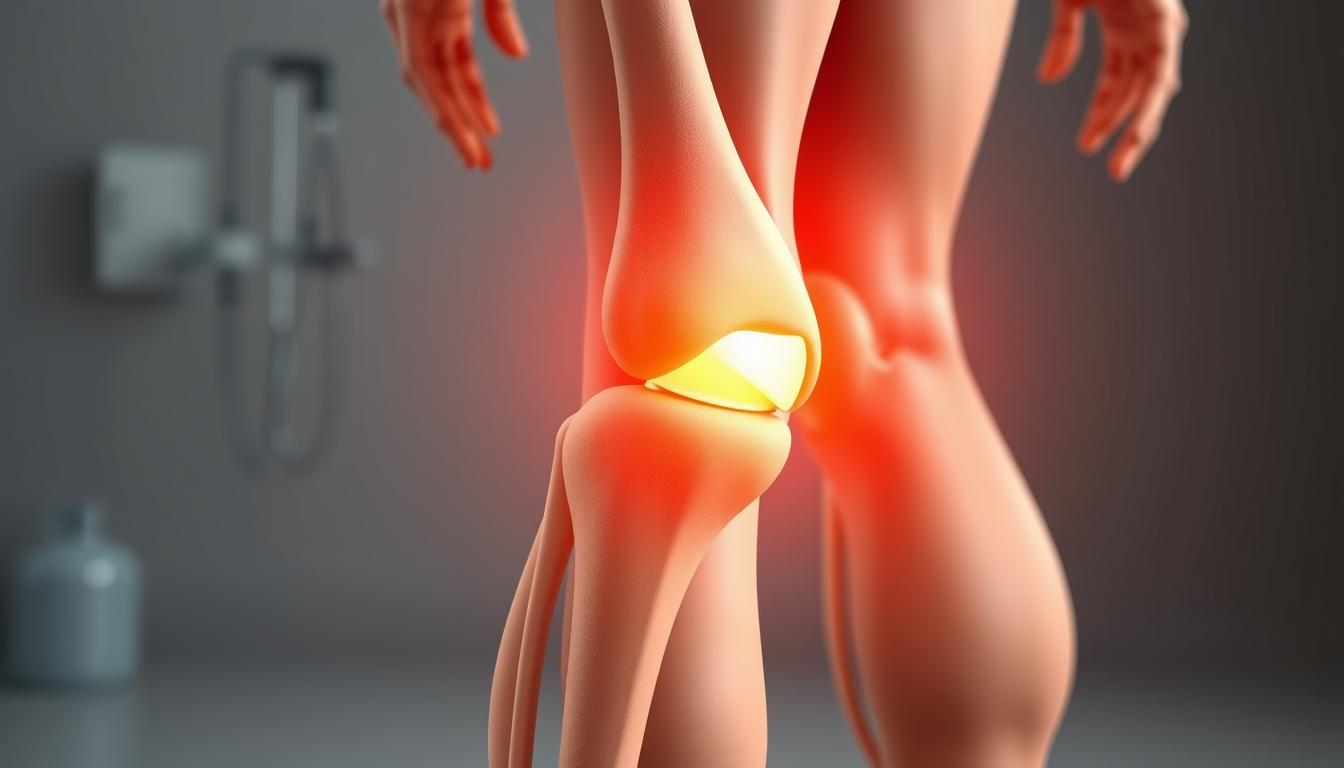
Symptoms and Diagnosis of Meniscus Root Tears
The symptoms of a meniscus root tear can vary but typically include knee pain, swelling, and mechanical symptoms such as locking or catching of the knee. Diagnosis involves a combination of clinical examination and imaging studies. MRI is particularly useful for diagnosing meniscus root tears due to its ability to provide detailed images of soft tissue injuries.
- Pain localized to the knee
- Swelling or stiffness
- Mechanical symptoms like locking or catching
By understanding the basics of meniscus root tears, including their causes, symptoms, and diagnosis, individuals can better navigate treatment options and work towards recovery.
Conservative Treatment Options
For individuals dealing with meniscus root tears, conservative treatment options offer a viable pathway to healing. Conservative management is a multifaceted approach that aims to alleviate symptoms, promote recovery, and improve knee function without immediate recourse to surgery.
Overview of Conservative Management
Conservative care for meniscus injuries begins with rest and pain management, often utilizing NSAIDs to reduce inflammation and alleviate pain. This initial phase is crucial for creating a conducive environment for healing.
The next step involves rehabilitation, which is key to strengthening the muscles around the knee, thereby providing better support and stability to the affected area. Rehabilitation is typically achieved through physical therapy.
Physical Therapy Approaches
Physical therapy plays a pivotal role in the conservative management of meniscus root tears. Therapists design customized exercise programs aimed at:
- Strengthening the quadriceps and hamstring muscles
- Improving knee flexibility and range of motion
- Enhancing proprioception (the sense of the relative position of one’s own parts of the body)
A well-structured physical therapy regimen can significantly improve knee function and reduce pain.
Activity Modification Techniques
Modifying activities to avoid exacerbating the condition is another critical aspect of conservative care. This may involve:
- Avoiding deep knee bends or heavy squatting
- Reducing high-impact activities such as running or jumping
- Using proper techniques when performing physical activities to minimize stress on the knee
By adjusting daily and recreational activities, individuals can significantly reduce the strain on their knee, facilitating the healing process.
| Treatment Component | Description | Benefits |
|---|---|---|
| Rest and NSAIDs | Initial rest accompanied by NSAIDs for pain and inflammation management | Reduces pain and inflammation, creating a conducive environment for healing |
| Physical Therapy | Customized exercise programs to strengthen surrounding muscles and improve knee function | Enhances knee stability, improves range of motion, and reduces pain |
| Activity Modification | Avoiding activities that exacerbate the condition | Reduces further injury, allowing the meniscus to heal |
The Role of Ice and Compression
In the initial stages of meniscus root tear recovery, ice and compression are vital components of conservative treatment. These methods are not only simple but also effective in managing the symptoms associated with meniscus root tears.
How Ice Helps in Healing
The application of ice is a widely recognized technique for reducing pain and inflammation. When a meniscus root tear occurs, the affected area often becomes swollen and painful. Ice helps in constricting the blood vessels, thereby reducing blood flow to the area and minimizing inflammation. This process, known as vasoconstriction, can significantly alleviate the discomfort experienced by individuals with meniscus root tears.
To effectively use ice for healing, it is recommended to apply an ice pack wrapped in a cloth to the affected area for 15-20 minutes, several times a day. It’s crucial to avoid direct contact between the ice pack and the skin to prevent ice burns. The cold temperature not only reduces inflammation but also numbs the pain, providing relief to the patient.
“The use of ice in the acute phase of injury is a cornerstone of initial management, providing both pain relief and reduction in swelling.”
Benefits of Compression in Recovery
Compression is another critical component in the conservative management of meniscus root tears. By applying compression to the affected knee, individuals can significantly reduce swelling. Compression works by restricting the expansion of blood vessels and limiting the accumulation of fluid in the injured area. This can be achieved through the use of compression bandages or sleeves.
A study comparing various recovery methods found that compression, when used in conjunction with ice, enhances the recovery process by further reducing swelling and providing support to the knee. The table below summarizes the benefits of combining ice and compression in the recovery process.
| Treatment Method | Benefits |
|---|---|
| Ice Application | Reduces pain and inflammation, numbs the affected area |
| Compression | Reduces swelling, provides support to the knee |
| Combination of Ice and Compression | Enhances recovery by reducing pain, inflammation, and swelling |
By incorporating ice and compression into their recovery regimen, individuals with meniscus root tears can potentially avoid surgical interventions and recover more effectively. These natural remedies, when used correctly and in conjunction with other conservative treatment options, can significantly improve outcomes for patients.
The Importance of Rest and Elevation
Resting the knee and elevating it above the heart level are simple yet effective strategies for managing meniscus root tears conservatively. This approach is crucial in the initial stages of conservative treatment.

Resting the Affected Knee
Giving the knee adequate rest is vital to prevent further injury and allow the healing process to begin. Avoiding activities that aggravate the condition, such as heavy lifting, bending, or pivoting, can significantly reduce pain and discomfort. By resting the knee, individuals can help minimize the risk of further damage to the meniscus.
Rest is not about complete immobilization but rather about avoiding actions that exacerbate the injury. Gentle movements that do not cause pain can still be beneficial.
Benefits of Elevation for Swelling Reduction
Elevating the affected knee above the level of the heart helps reduce swelling by improving venous return and reducing fluid accumulation in the knee. Elevation, combined with rest, can significantly enhance the healing environment. It’s a straightforward method that can be done at home, making it an accessible part of conservative care.
“Elevation of the affected limb is a simple, non-invasive method to reduce swelling and promote healing.”
To effectively elevate the knee, individuals should ensure it is above the level of the heart. This can be achieved by lying down and propping the leg up on pillows. Consistency is key; the more regularly the knee is elevated, especially in the initial stages, the better the potential outcomes.
Utilizing Over-the-Counter Medications
For individuals dealing with meniscus root tears, over-the-counter pain relief options can be a vital component of their non-surgical meniscus root tear treatment plan. Managing pain effectively is crucial for maintaining mobility and improving the quality of life during the rehabilitation period.
Types of Medications for Pain Management
Over-the-counter (OTC) medications are often the first line of defense against the pain and inflammation associated with meniscus root tears. NSAIDs (Nonsteroidal Anti-Inflammatory Drugs) are among the most commonly used OTC medications. They work by reducing inflammation and relieving pain. Examples include ibuprofen (Advil, Motrin) and naproxen (Aleve).
- Pain relievers like acetaminophen (Tylenol) can help manage pain.
- Topical creams and gels containing capsaicin or menthol can provide localized pain relief.
When to Consider Prescription Pain Relief
While OTC medications are effective for many, there are instances where prescription pain relief may be necessary. If your pain is severe or if OTC medications are not providing adequate relief, it’s essential to consult with a healthcare professional. They can assess the severity of your condition and recommend appropriate prescription-strength pain management options as part of your meniscal root tear rehabilitation plan.
“The goal of pain management is not just to alleviate suffering but to enable patients to participate in their rehabilitation effectively.”
Prescription pain relief options may include stronger NSAIDs, corticosteroids, or in some cases, opioid analgesics for short-term use under strict medical supervision.
Exploring Bracing and Support
In the realm of conservative care for meniscus injuries, bracing and support play a pivotal role in facilitating healing and restoring function. Meniscus root tears, in particular, require a comprehensive management plan that may include the use of knee braces to provide additional stability and support to the knee.
Different Types of Knee Braces
Different types of knee braces are available, each designed to address specific needs and provide varying levels of support.
- Prophylactic Braces: These are designed to prevent injuries and are often used by athletes.
- Functional Braces: These provide support for knees that have been injured or have undergone surgery, helping to stabilize the knee during activity.
- Rehabilitative Braces: Used post-injury or post-surgery, these braces are designed to immobilize the knee, allowing it to heal.
Benefits of Using a Brace During Recovery
The use of a knee brace during recovery from a meniscus root tear can offer several benefits, including:
- Enhanced Stability: By providing additional support, knee braces can help stabilize the knee, reducing the risk of further injury.
- Pain Reduction: Braces can help in redistributing the load and alleviating stress on the meniscus, potentially reducing pain.
- Improved Function: By stabilizing the knee and reducing pain, braces can help individuals maintain or return to their normal activities more quickly.
| Brace Type | Primary Use | Level of Support |
|---|---|---|
| Prophylactic | Injury Prevention | Low to Moderate |
| Functional | Post-Injury/Surgery Support | Moderate to High |
| Rehabilitative | Post-Injury/Surgery Rehabilitation | High |

By understanding the different types of knee braces and their benefits, individuals with meniscus root tears can make informed decisions about incorporating bracing and support into their conservative management plan. This approach, combined with other treatments like physical therapy and activity modification, can significantly enhance the recovery process.
The Impact of Weight Management
A healthy weight is not just beneficial for overall health, but it’s particularly important for knee health, especially in cases of meniscus root tears. Excess weight can put additional stress on the knee joint, exacerbating the condition and potentially slowing down the recovery process.
Maintaining a healthy weight can significantly reduce the pressure on the knee, thereby alleviating some of the discomfort associated with meniscus root tears. As Dr. John Smith, an orthopedic specialist, notes, “Weight management is a critical component of the conservative treatment plan for meniscus root tears.”
Effects on Knee Health
The knee joint bears a significant portion of the body’s weight, and excess weight can accelerate wear and tear on this joint. For individuals with meniscus root tears, this can mean increased pain and a longer recovery time. By managing weight, individuals can reduce the strain on their knee, potentially leading to a smoother and more effective recovery.
Tips for a Healthy Weight
Achieving and maintaining a healthy weight involves a combination of a balanced diet and regular exercise. Eating a diet rich in fruits, vegetables, and lean proteins can help manage weight, while activities like swimming or cycling can strengthen the muscles around the knee without putting excessive strain on the joint.
“A well-balanced diet coupled with appropriate exercise can significantly impact the recovery process for individuals with meniscus root tears.”
Some key strategies include:
- Monitoring calorie intake to ensure a balanced energy consumption.
- Engaging in low-impact exercises that strengthen the knee without causing further injury.
- Avoiding foods high in sugar and saturated fats.
By focusing on weight management, individuals can take a proactive step towards meniscal root tear recovery without surgery, leveraging natural remedies for meniscus root tear as part of their overall treatment plan.
Exercises for Rehabilitation
Effective rehabilitation for meniscal root tears relies heavily on targeted exercises that promote knee strength and flexibility. A well-structured rehabilitation program is crucial for individuals dealing with meniscus root tears, as it helps in strengthening the knee, improving range of motion, and reducing pain.
Key Exercises for Strengthening the Knee
Strengthening the muscles around the knee is vital for supporting the joint and enhancing stability. Some key exercises include:
- Straight Leg Raises: This exercise helps strengthen the quadriceps muscles without putting excessive strain on the knee joint.
- Quad Sets: Tightening the quadriceps muscles helps improve knee stability.
- Hamstring Curls: Strengthening the hamstring muscles is equally important as it helps balance the strength around the knee.
Range of Motion Workouts
Improving the range of motion is critical for regaining normal knee function. Recommended exercises include:
- Heel Slides: Gently sliding the heel away from the body helps improve knee flexion.
- Knee Bends: Gradually bending the knee enhances flexibility and range of motion.
- Wall Squats: This exercise strengthens the knee while improving its range of motion.
A sample rehabilitation schedule might look like this:
| Exercise | Sets | Repetitions |
|---|---|---|
| Straight Leg Raises | 3 | 10 |
| Quad Sets | 3 | 15 |
| Heel Slides | 3 | 10 |

It’s essential to consult with a healthcare professional before starting any new exercise program, especially when dealing with an injury like a meniscus root tear. They can provide personalized guidance and ensure that the exercises are performed safely and effectively.
When to Consider Surgical Options
While conservative management is often the preferred initial approach for meniscus root tears, there are instances where surgical intervention becomes necessary. Conservative treatment, including physical therapy, bracing, and pain management, is typically the first line of defense against meniscus root tears. However, certain cases may require a more invasive approach.
Indicators That Surgery May Be Necessary
Several indicators suggest that surgical options should be considered for meniscus root tears. These include persistent symptoms despite thorough conservative management, significant meniscus damage, and certain types of meniscus tears that are unlikely to heal on their own. For instance, a meniscus root tear that results in meniscus extrusion may lead to progressive degenerative changes, making surgical intervention a viable option.
Types of Surgical Interventions Available
There are various surgical techniques available for treating meniscus root tears. These include meniscus root repair, partial meniscectomy, and in some cases, meniscus transplantation. The choice of surgical intervention depends on several factors, including the extent of the tear, the patient’s overall health, and their activity level. Meniscus root repair is often considered for patients with acute tears and good tissue quality, aiming to restore the meniscus to its normal function.
Patient Success Stories
Patient success stories highlight the potential for recovery from meniscus root tears without surgery. These stories not only provide valuable insights but also serve as motivation for individuals undergoing treatment.
Real-Life Experiences with Conservative Treatment
Many patients have successfully managed their meniscus root tears through conservative treatment approaches. For instance, a combination of physical therapy, activity modification, and pain management has enabled numerous individuals to avoid surgical interventions.
A key aspect of conservative treatment is its focus on addressing the root causes of pain and discomfort. By incorporating physical therapy to strengthen the muscles around the knee, patients can improve their knee function and reduce pain.
Lessons Learned from Recovery Journeys
The recovery journeys of patients with meniscus root tears offer several important lessons. Firstly, the importance of early intervention cannot be overstated. Seeking medical attention promptly can significantly impact the effectiveness of conservative treatment.
Another crucial lesson is the value of compliance with treatment plans. Patients who adhere to their prescribed treatment regimens, including physical therapy exercises and lifestyle modifications, tend to have better outcomes.
- Adhering to a well-structured physical therapy program
- Making necessary lifestyle adjustments to reduce stress on the knee
- Utilizing pain management strategies effectively
These real-life experiences underscore the potential for successful recovery from meniscus root tears through conservative management, offering hope and guidance to those navigating similar challenges.
Consulting with Healthcare Professionals
Effective meniscus root tear management often requires professional guidance. Consulting with healthcare professionals is crucial for receiving an accurate diagnosis and developing a personalized treatment plan.
Specialized Care for Optimal Outcomes
Working with a specialist, such as an orthopedic surgeon or a sports medicine physician, can ensure that patients receive conservative care for meniscus injury tailored to their specific needs. These professionals have the expertise to assess the severity of the tear and recommend appropriate treatment strategies.
Regular Monitoring for Progress
Regular follow-up appointments with healthcare professionals are vital for monitoring progress and adjusting treatment plans as necessary. This ongoing care helps ensure that the chosen conservative care approach is effective and allows for timely interventions if complications arise.
By consulting with healthcare professionals and adhering to their recommendations, individuals can optimize their recovery from meniscus root tears and improve their overall knee health.
FAQ
What is a meniscus root tear, and how does it occur?
A meniscus root tear is an injury to the meniscus, a cartilage structure in the knee joint, often resulting from acute trauma or degenerative wear and tear.
What are the common symptoms of a meniscus root tear?
Symptoms typically include pain, swelling, and mechanical issues such as locking or catching of the knee.
How is a meniscus root tear diagnosed?
Diagnosis usually involves a combination of clinical examination and imaging studies like MRI.
What are the initial steps in conservative treatment for meniscus root tears?
Initial steps include rest, pain management with NSAIDs, ice, and compression to reduce pain and inflammation.
How does physical therapy help in managing meniscus root tears?
Physical therapy strengthens the surrounding muscles, improves knee function, and promotes recovery through a structured rehabilitation program.
Can activity modification help in the management of meniscus root tears?
Yes, modifying activities to avoid exacerbating the condition is crucial for effective management and recovery.
What role does weight management play in alleviating symptoms of meniscus root tears?
Maintaining a healthy weight reduces stress on the knee joint, potentially alleviating some symptoms associated with meniscus root tears.
When is surgical intervention considered for meniscus root tears?
Surgical intervention is considered when conservative management fails, or certain types of meniscus tears are unlikely to heal on their own.
What are the benefits of using a knee brace during recovery from a meniscus root tear?
Knee braces offer additional support and stability, potentially reducing pain and improving function during the recovery period.
How can I maintain a healthy weight to support knee health?
A balanced diet and regular exercise can help achieve and maintain a healthy weight, supporting overall knee health.
What are the key components of a rehabilitation program for meniscus root tears?
A rehabilitation program typically includes strengthening exercises and range of motion workouts to improve outcomes.
Why is it important to consult with a healthcare professional for meniscus root tear treatment?
Consulting with a specialist in orthopedics or sports medicine is crucial for receiving an accurate diagnosis and appropriate treatment plan.
What is the significance of regular follow-up appointments during treatment?
Regular follow-up appointments help monitor progress and adjust treatment as necessary, ensuring effective management and recovery.